30th June 2021
A pull-on Tiered Blouse
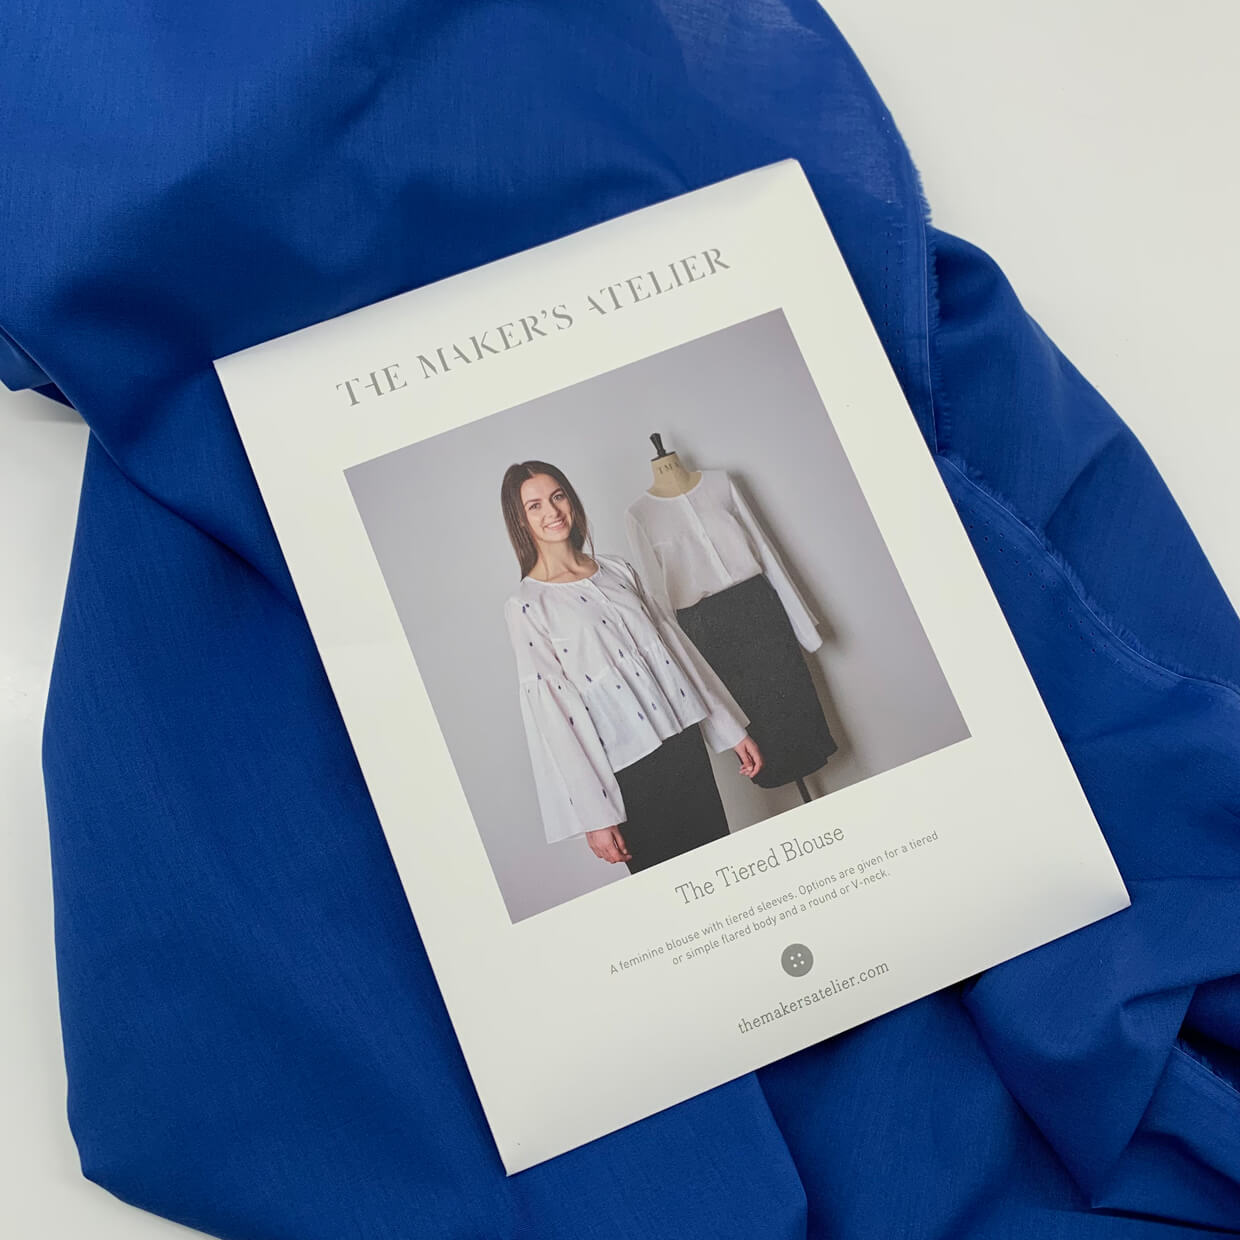
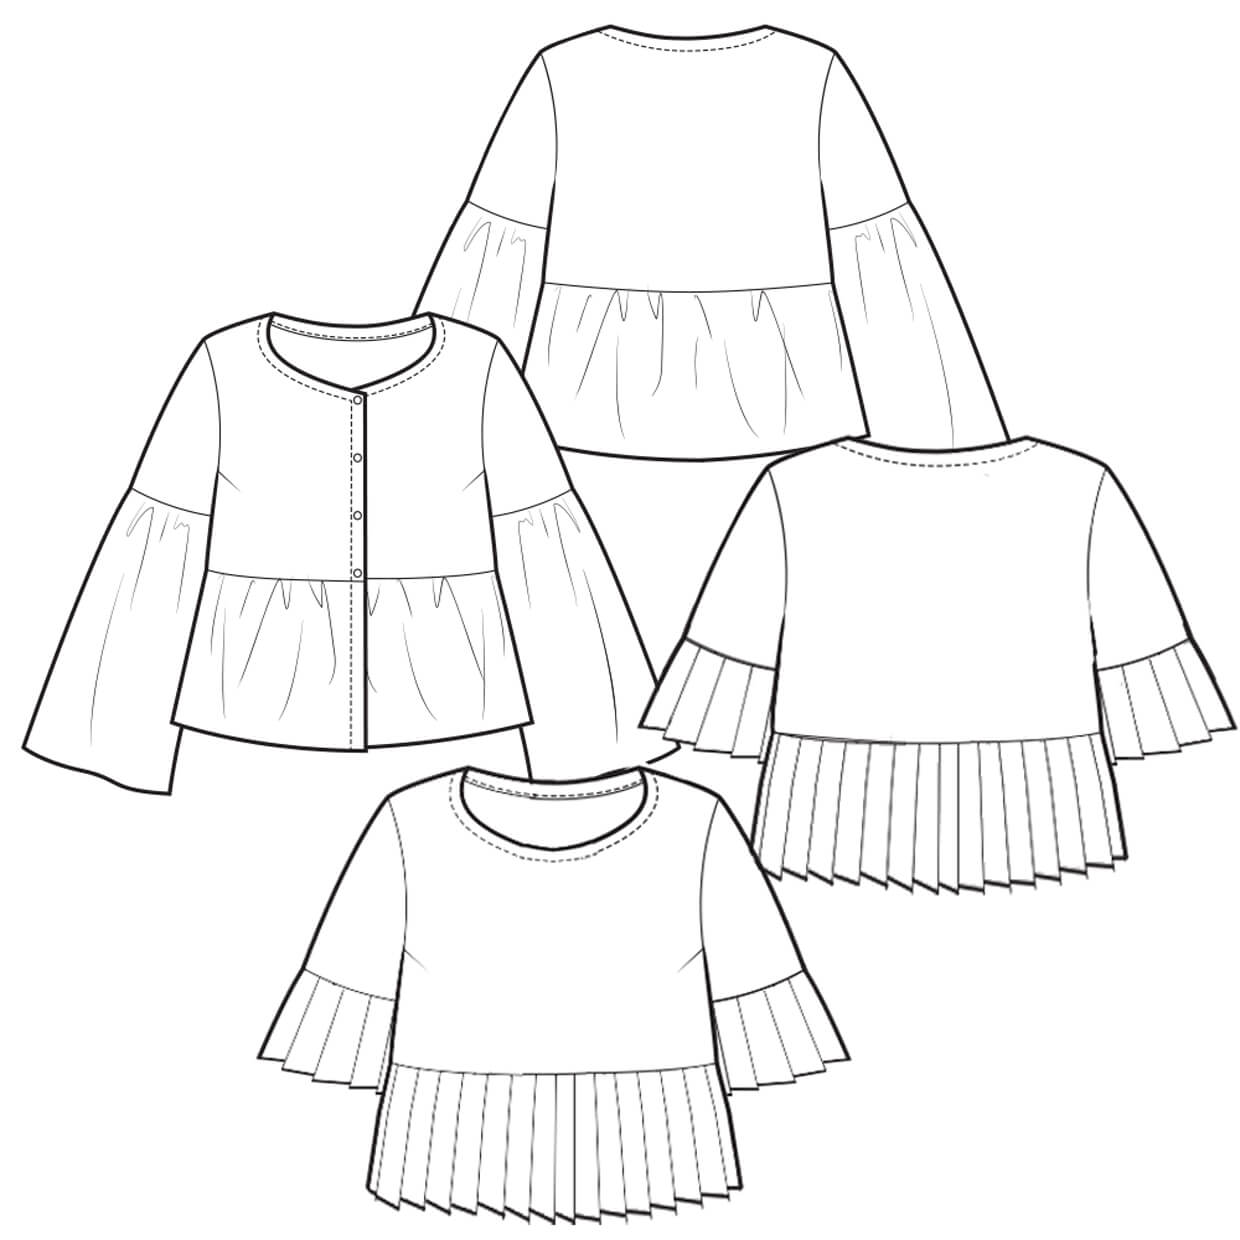
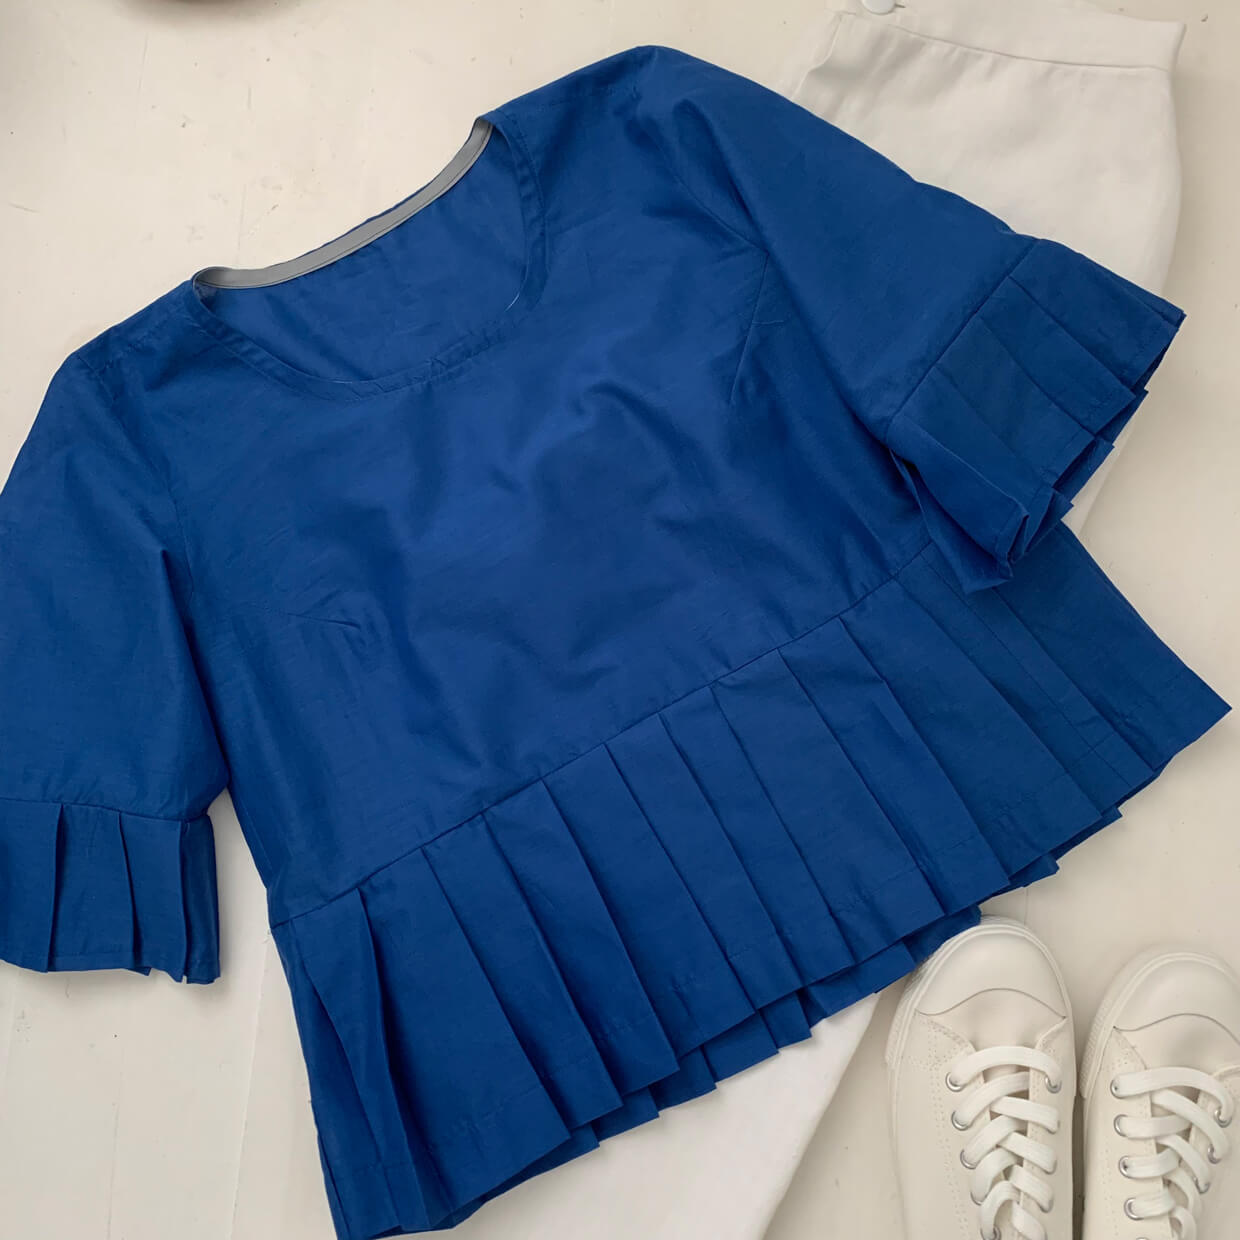
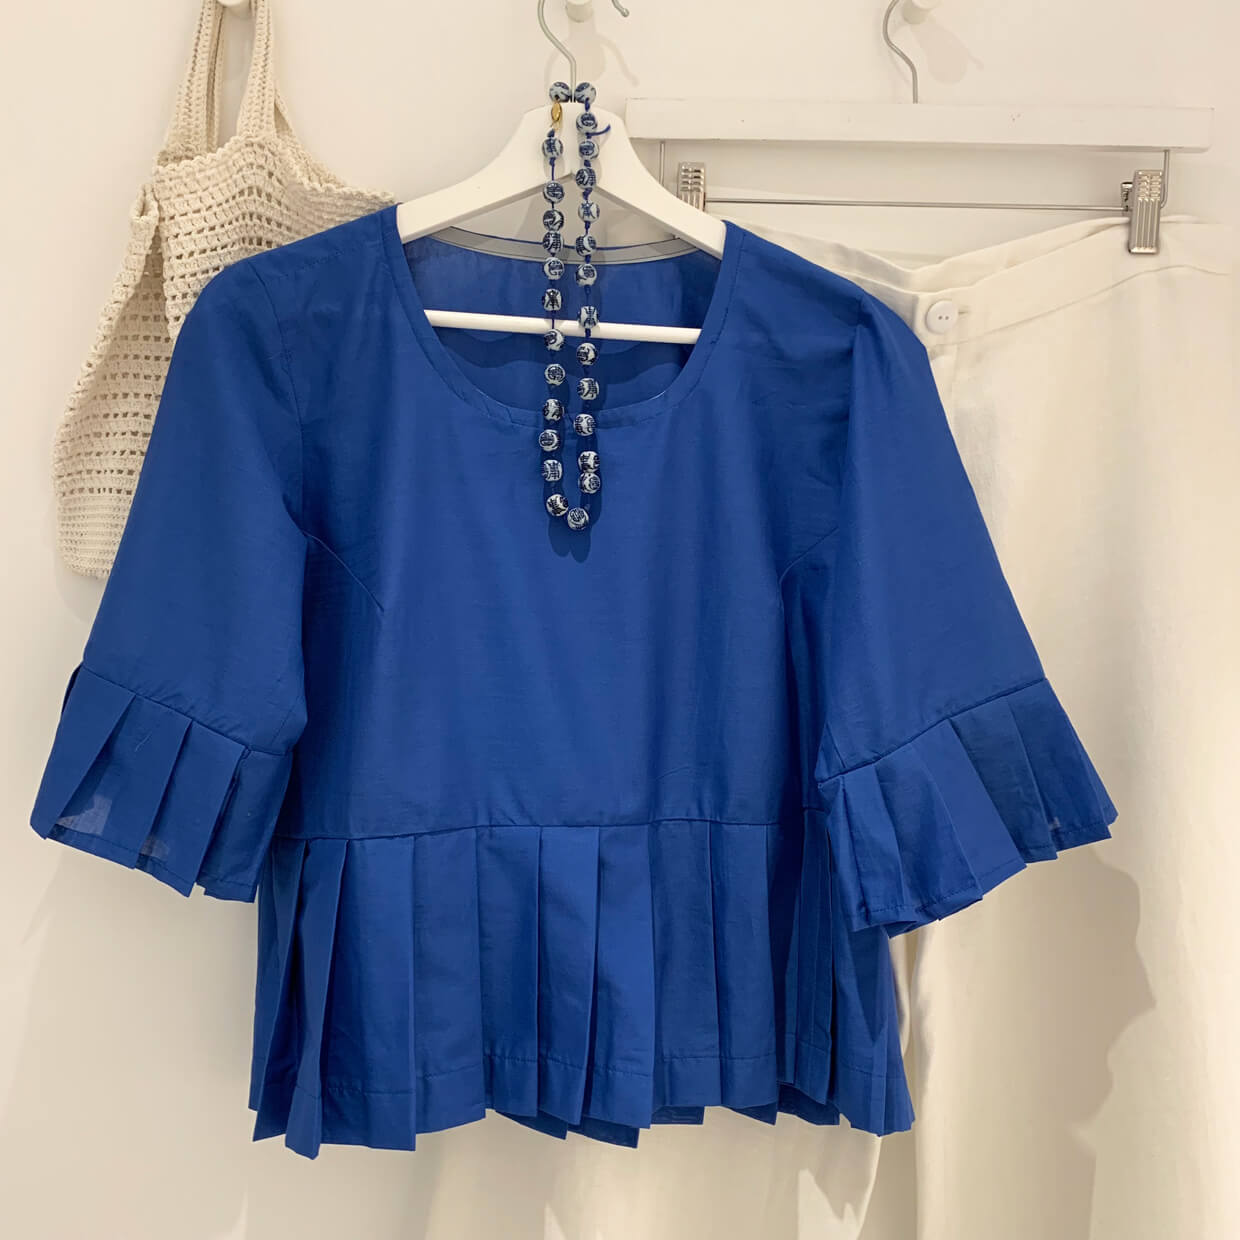
I’ve often been asked if The Tiered Blouse can be made without the front fastening. This isn’t something I’ve tried before but when I saw this poster blue fabric from Ditto I thought I would give it a go.
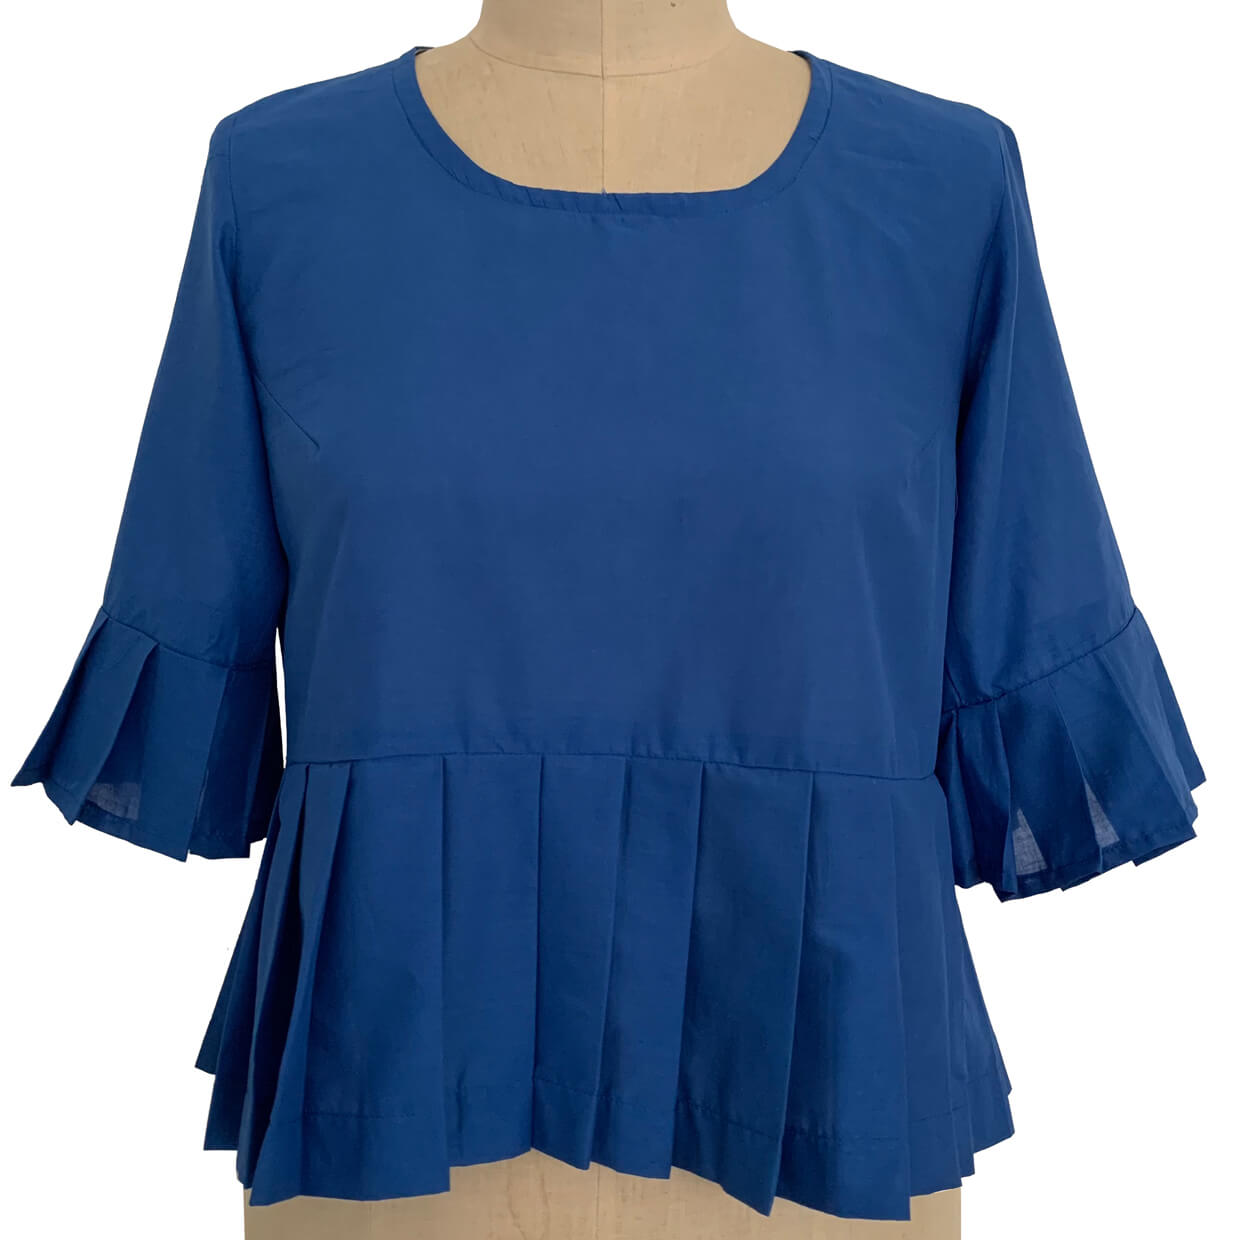
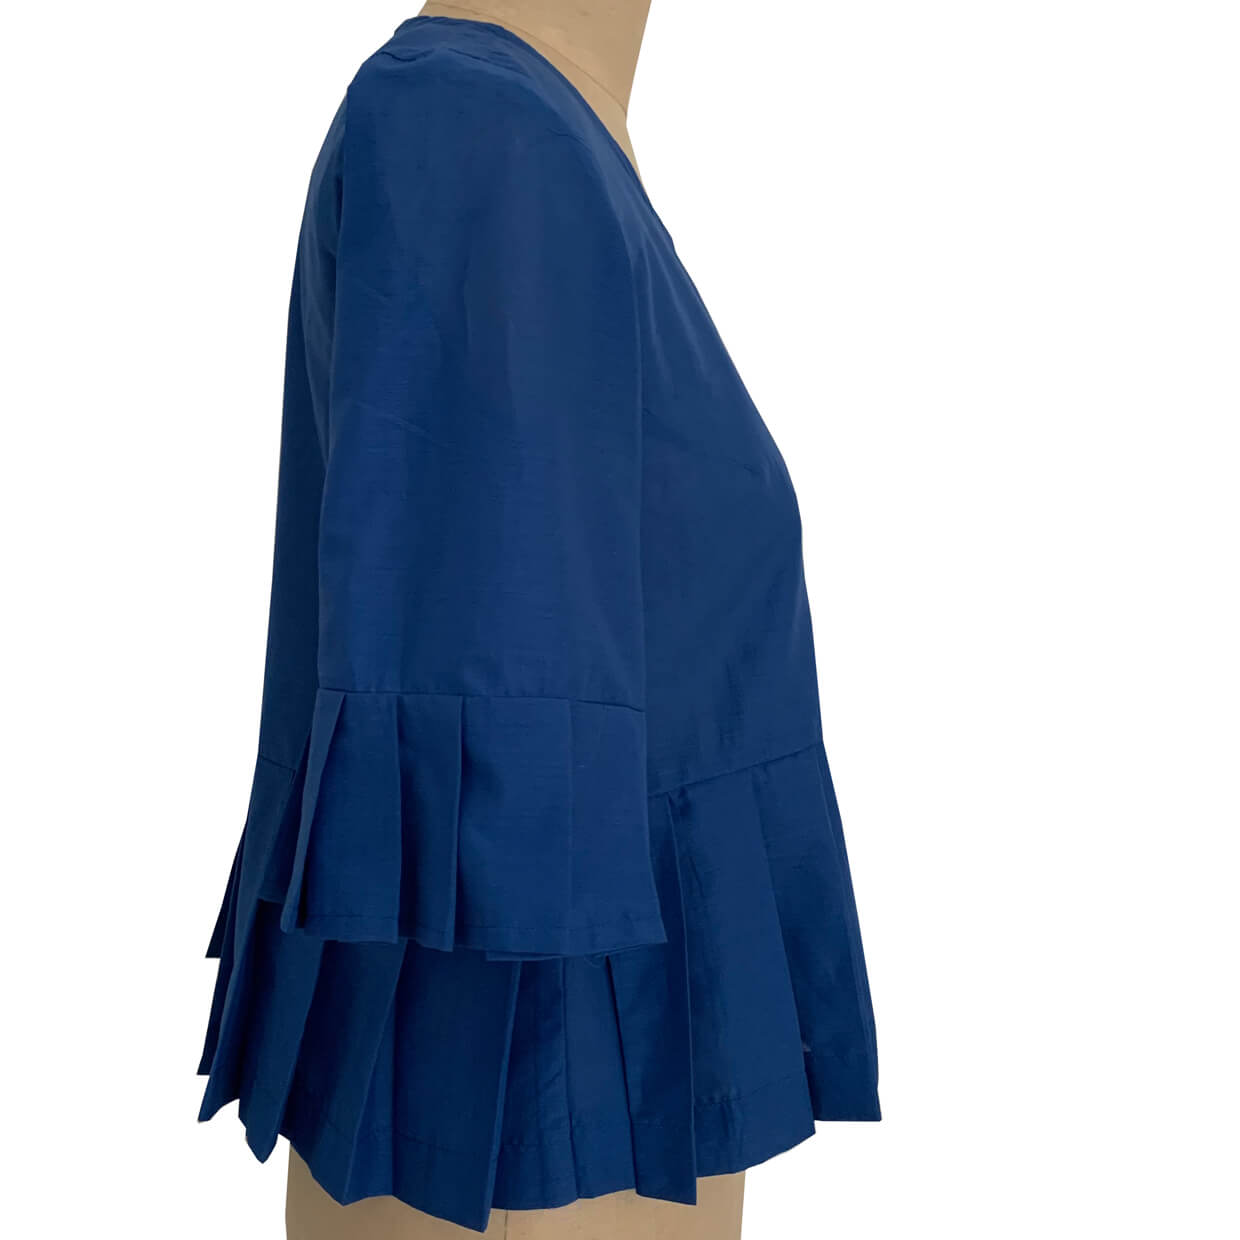
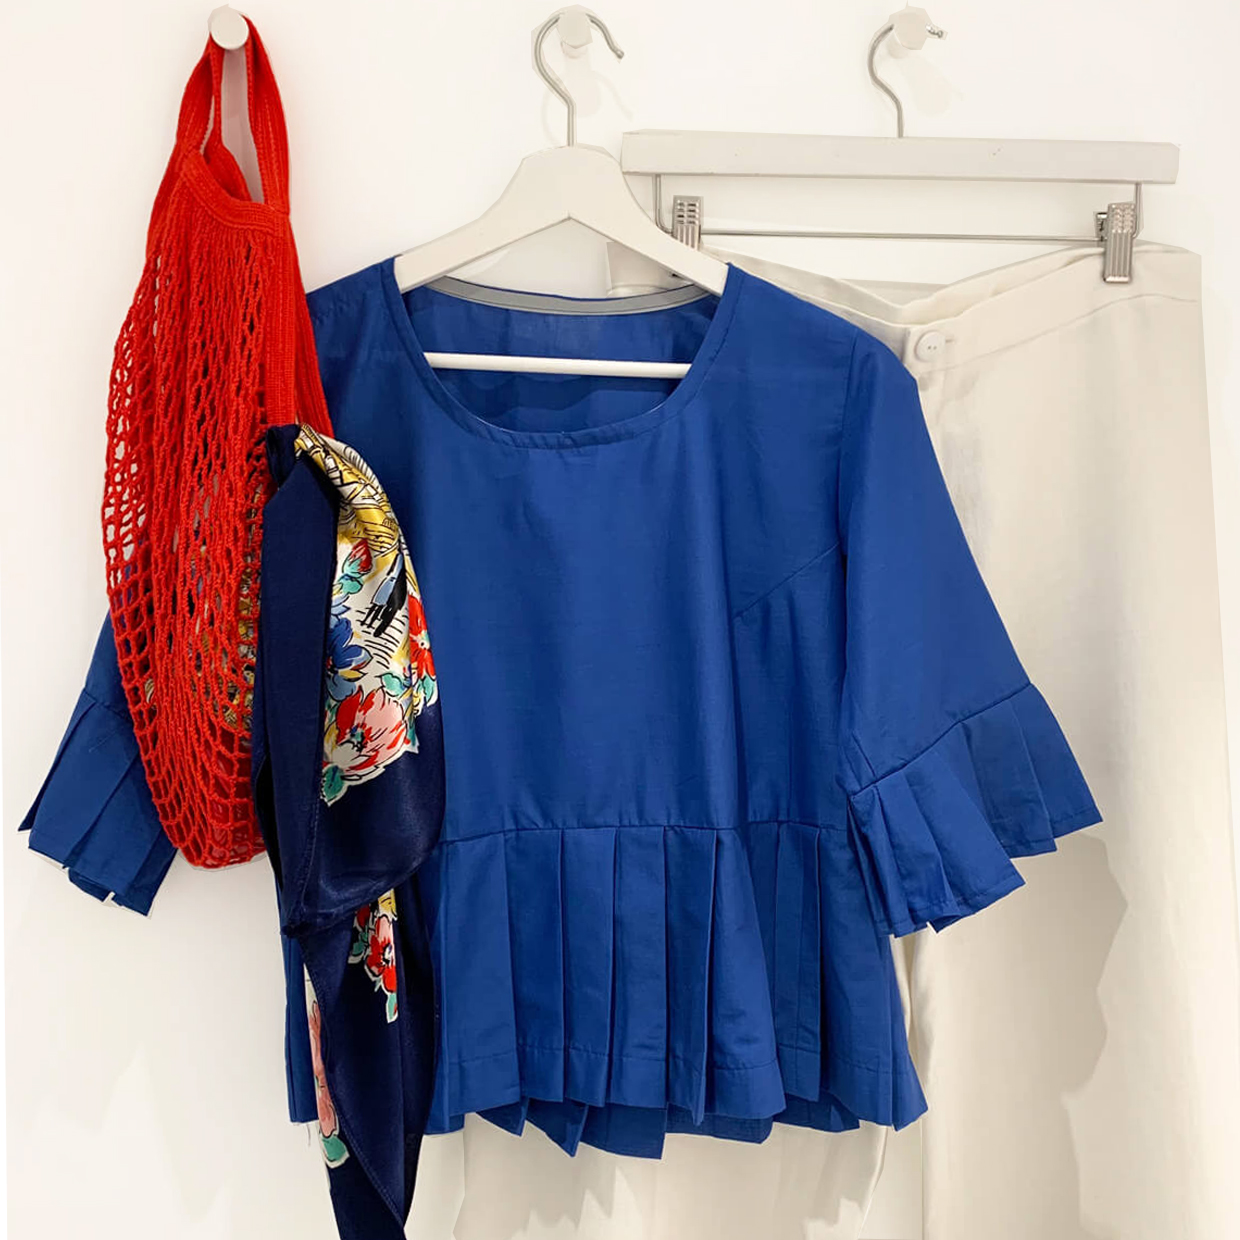
This cotton poplin is lightweight but can hold a pleat so instead of the gathered flounce I thought I would try a pleated tier instead. The fabric is 150cm wide and I needed 1.5 metres for a size 12 top. The length of the finished top is 54cm from side neck but this could be altered to suit.
For the front take the pattern piece and folded back the paper down the front by 5cm and placed this on the fold of the fabric. Cut out the remaining garment pieces, the sleeve and back, as for the original tiered version of the blouse.
To make the pleated tiers cut two strips of fabric 12cm deep by 150cm for the sleeves. Turn one long edge of each strip by 1cm and press then by a further 1cm and press and stitch in place.
For the main body pleated tier cut 2 x 150 length by 20cm deep strips - join the two strips together to make a a single strip 300cm x 20cm. Turn one long edge up by 1cm and press, then turn again by 3cm and press, stitch in place.
Each strip is then marked with chalk at 3cm and 7cm intervals all the way along the top; these are the fold points for the pleats. Pleat the fabric, pin in place and then press. Stitch along the top of the pleats, 1cm from the edge, to hold in place. For the size 12 each sleeve requires a length of pleated fabric 39cm long and the body will require a pleated length 110 cm.
Make up the top part of the garment as follows: once the darts are stitched in place, attach the front to the back at one shoulder only. Stitch a narrow bias binding to the right side of the neckline, then stitch the other shoulder seam in place. Press the binding over to the wrong side and stitch down. Attach the sleeves. With right sides together pin a pleated strip to each sleeve, stitch in place and press the seam allowance down towards the pleated tier. Stitch the underarm and sides seams. Take the pleated strip and the two ends together to form a band then with right sides together pin the pleated tier to the hem, starting a side seam. Stitch in place and press the seam towards the pleated tier. Turn the garment through and press.
The finished top can be worn with The Lounge Pant or Wide-legged Trouser – in these images both are made in white linen for a classic summer look.
