
12th May 2018
Pattern variation
Adding Elasticated Details
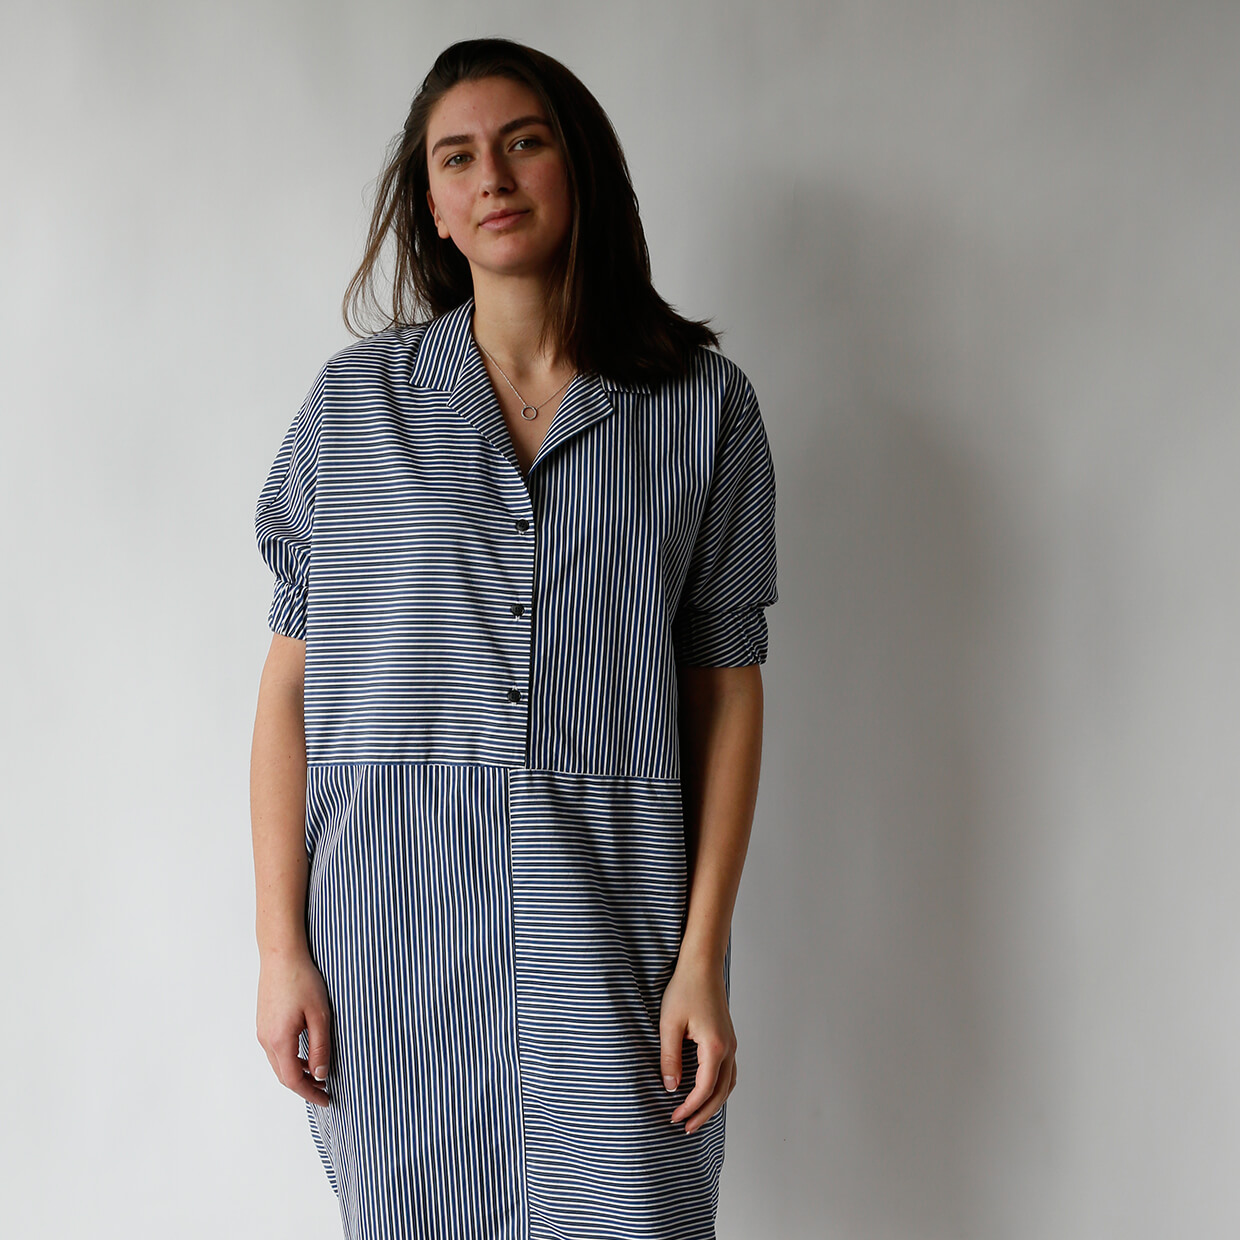
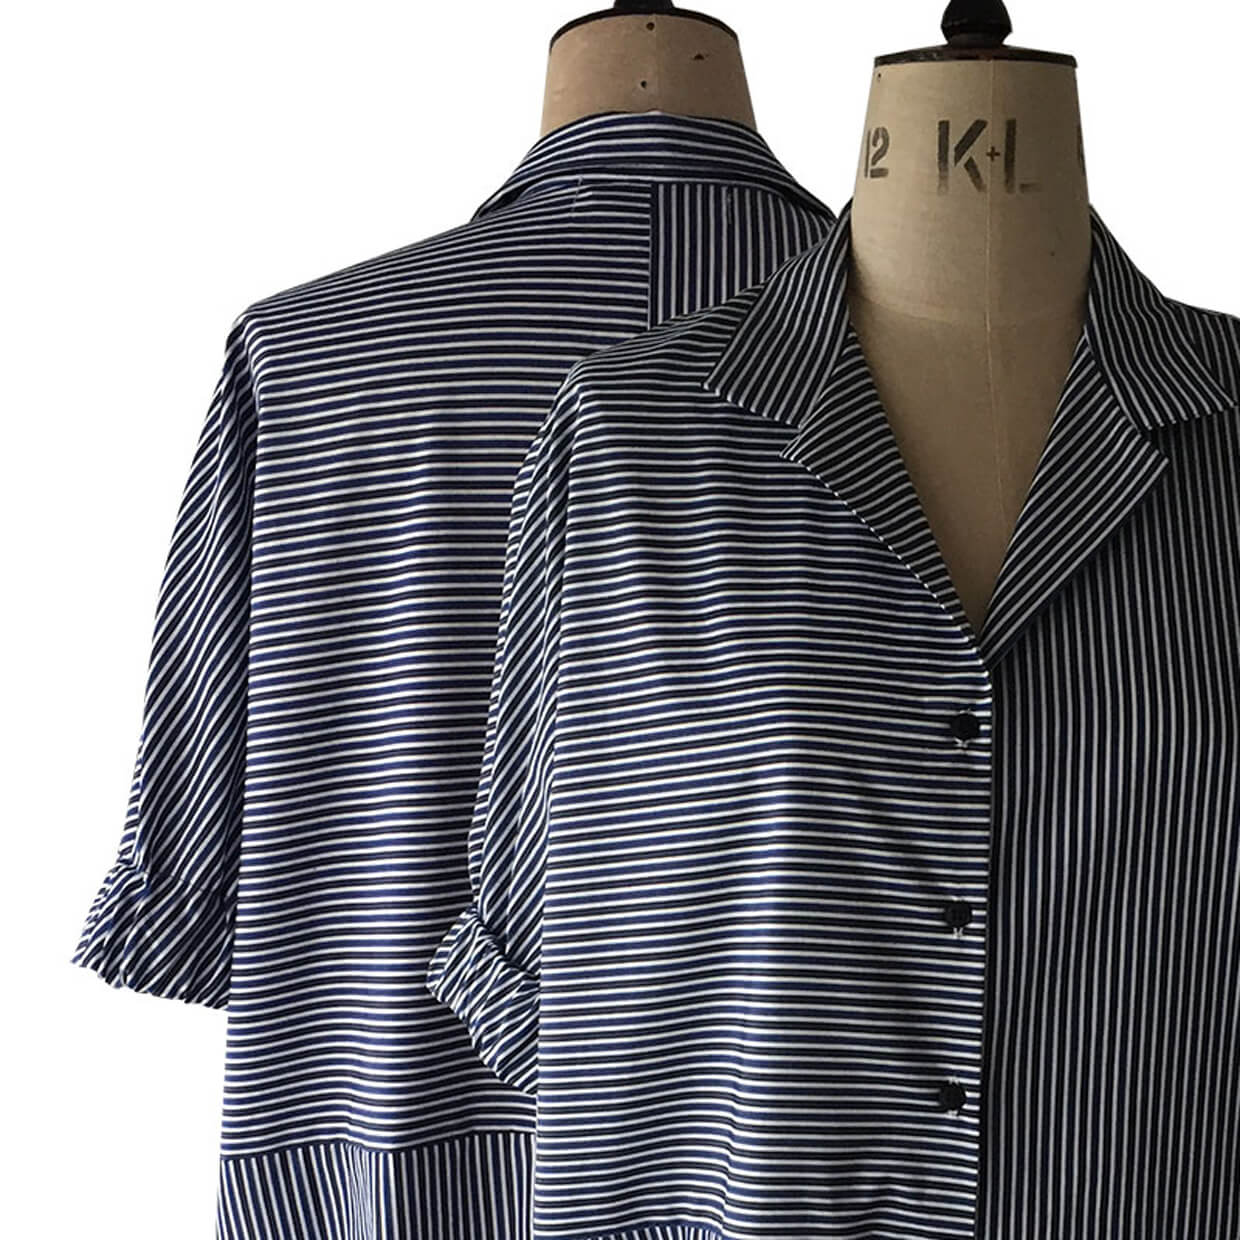
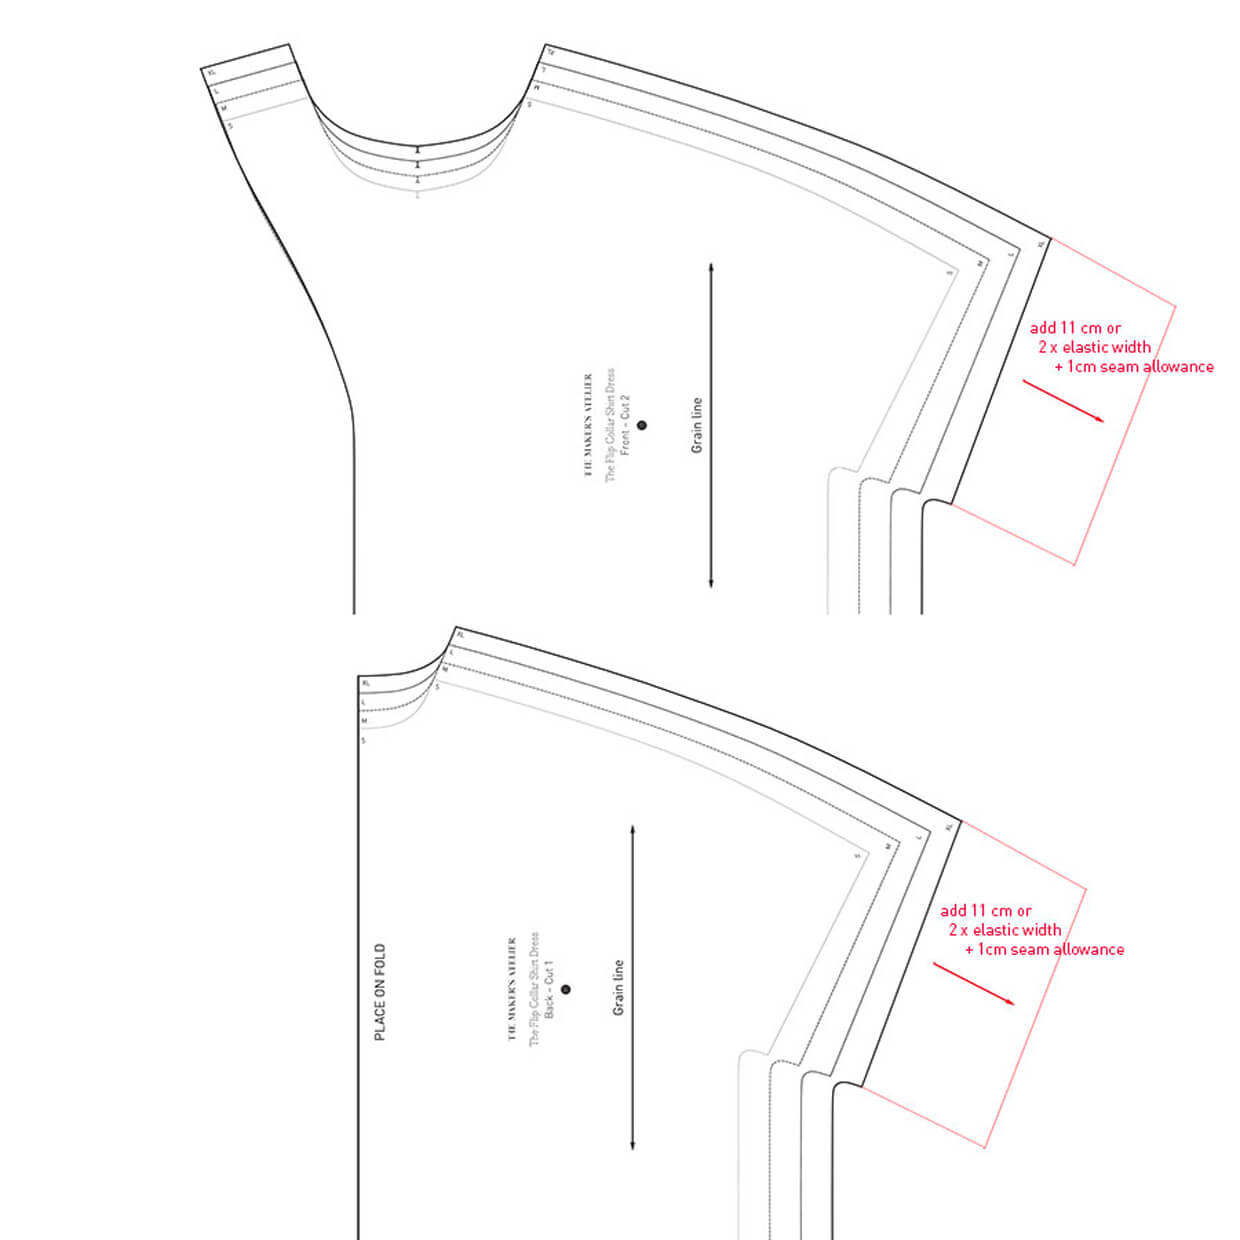
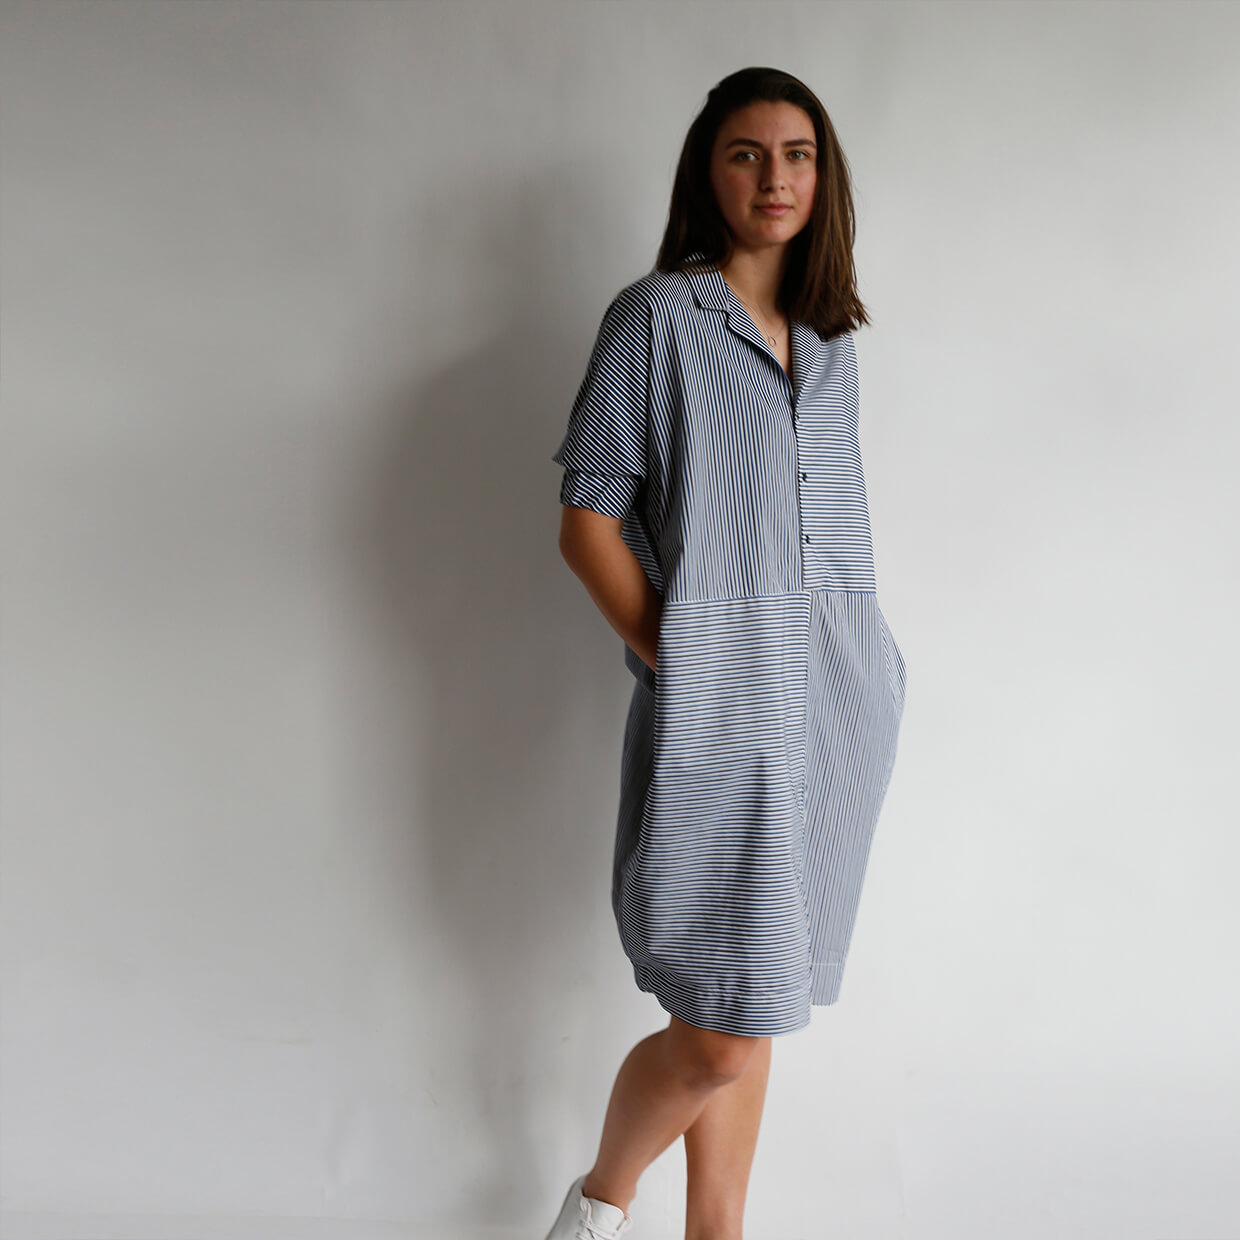
I love a cocoon shape, so it was only a matter of time before I played around with The Flip Collar Shirt Dress pattern. Initially I started this pattern variation with wanting to add a deep soft gather to the sleeve cuff. This is a reasonably simple process; I added twice the depth of my elastic plus a 1cm seam allowance to the front and back pattern pieces as shown here.
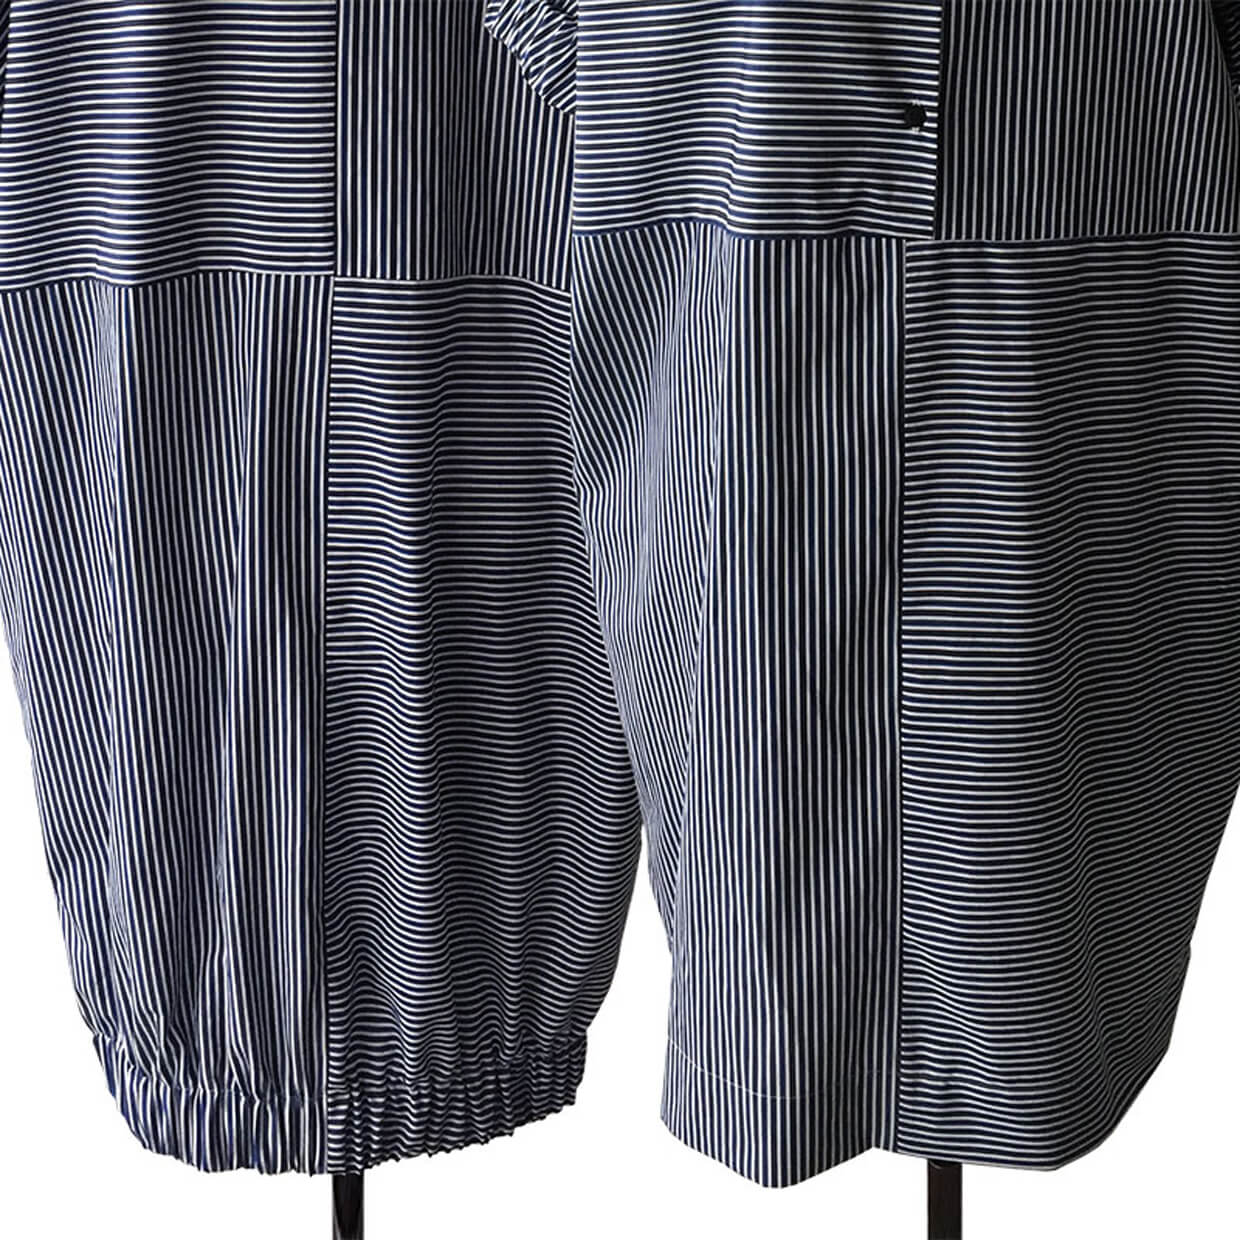
When I tried the dress on, it just felt right. As I knew I would be wearing this shirtdress over leggings or narrow legged trousers, I thought a similar elasticated trim would work at the back of the hem. So I just incorporated a 42cm length of elastic into the back dress hem, securing the elastic at the side seams.
These additions give the Flip Collar Shirt Dress a different attitude, almost a sculptural feel.