3rd November 2018
Pattern variation
Lining The Swing Jacket
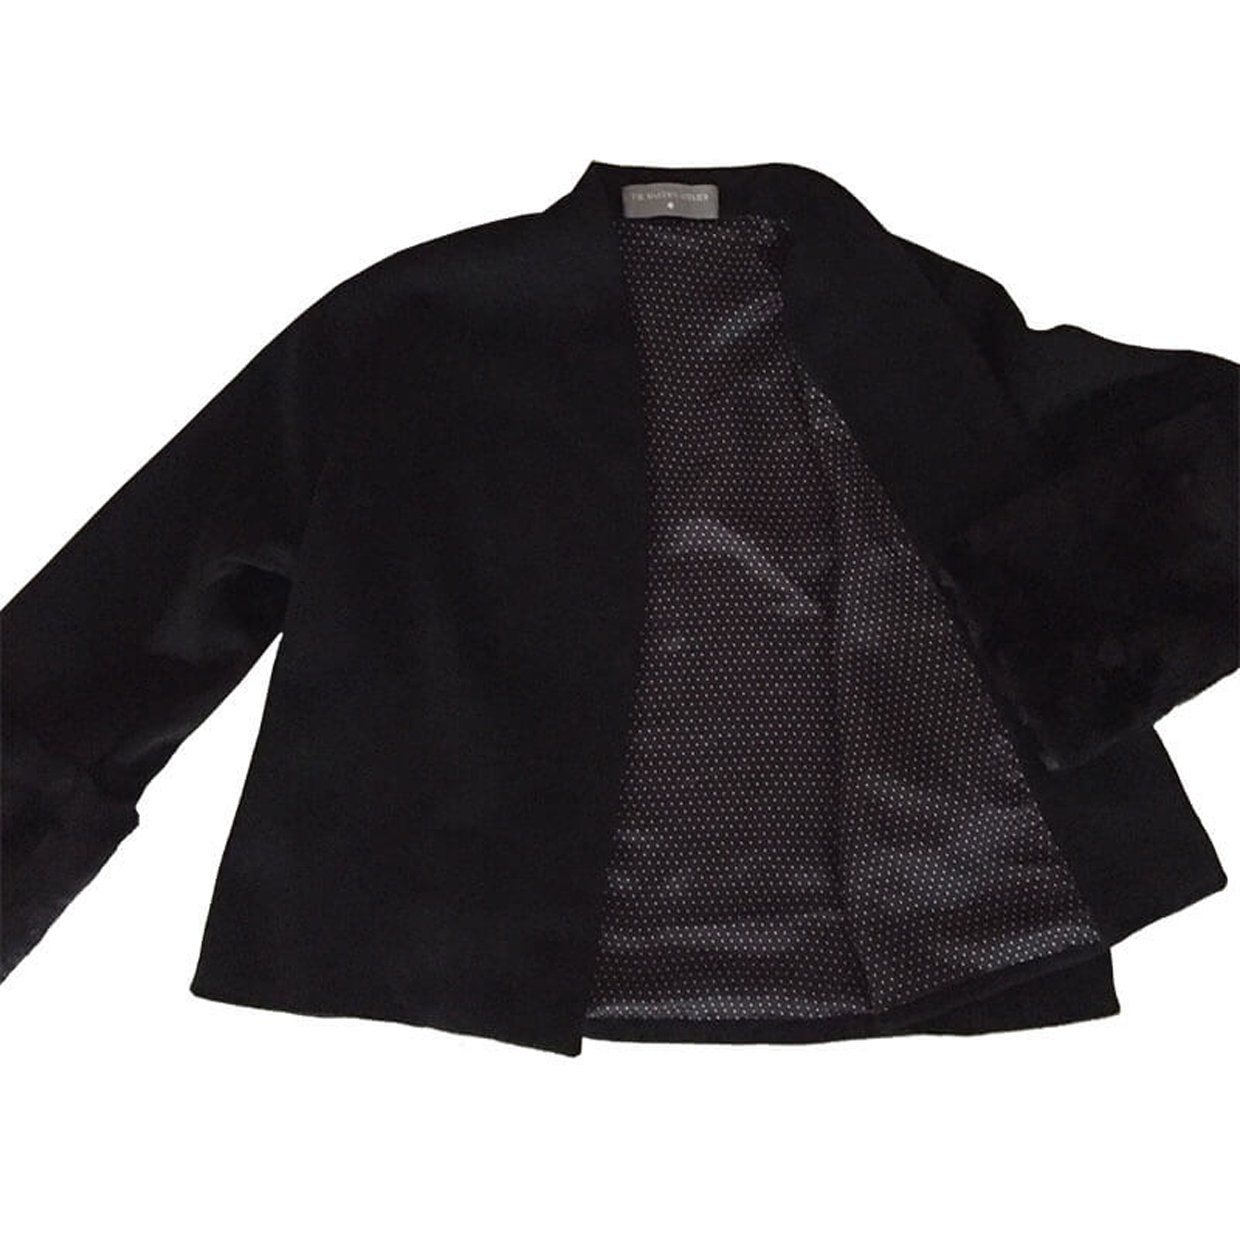
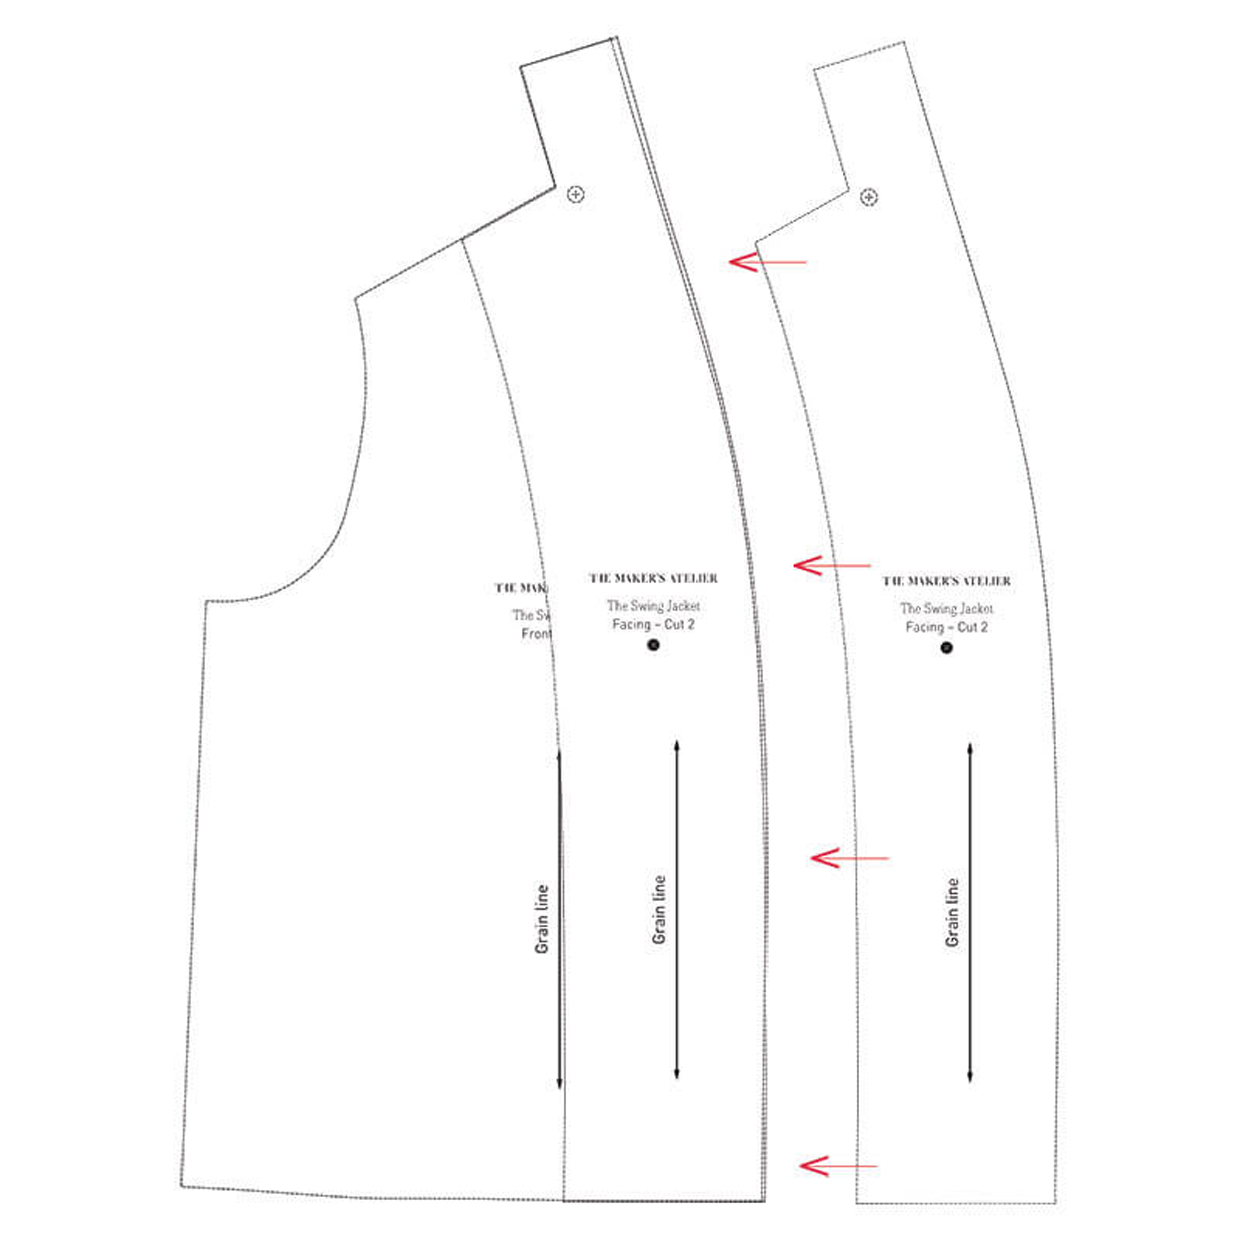
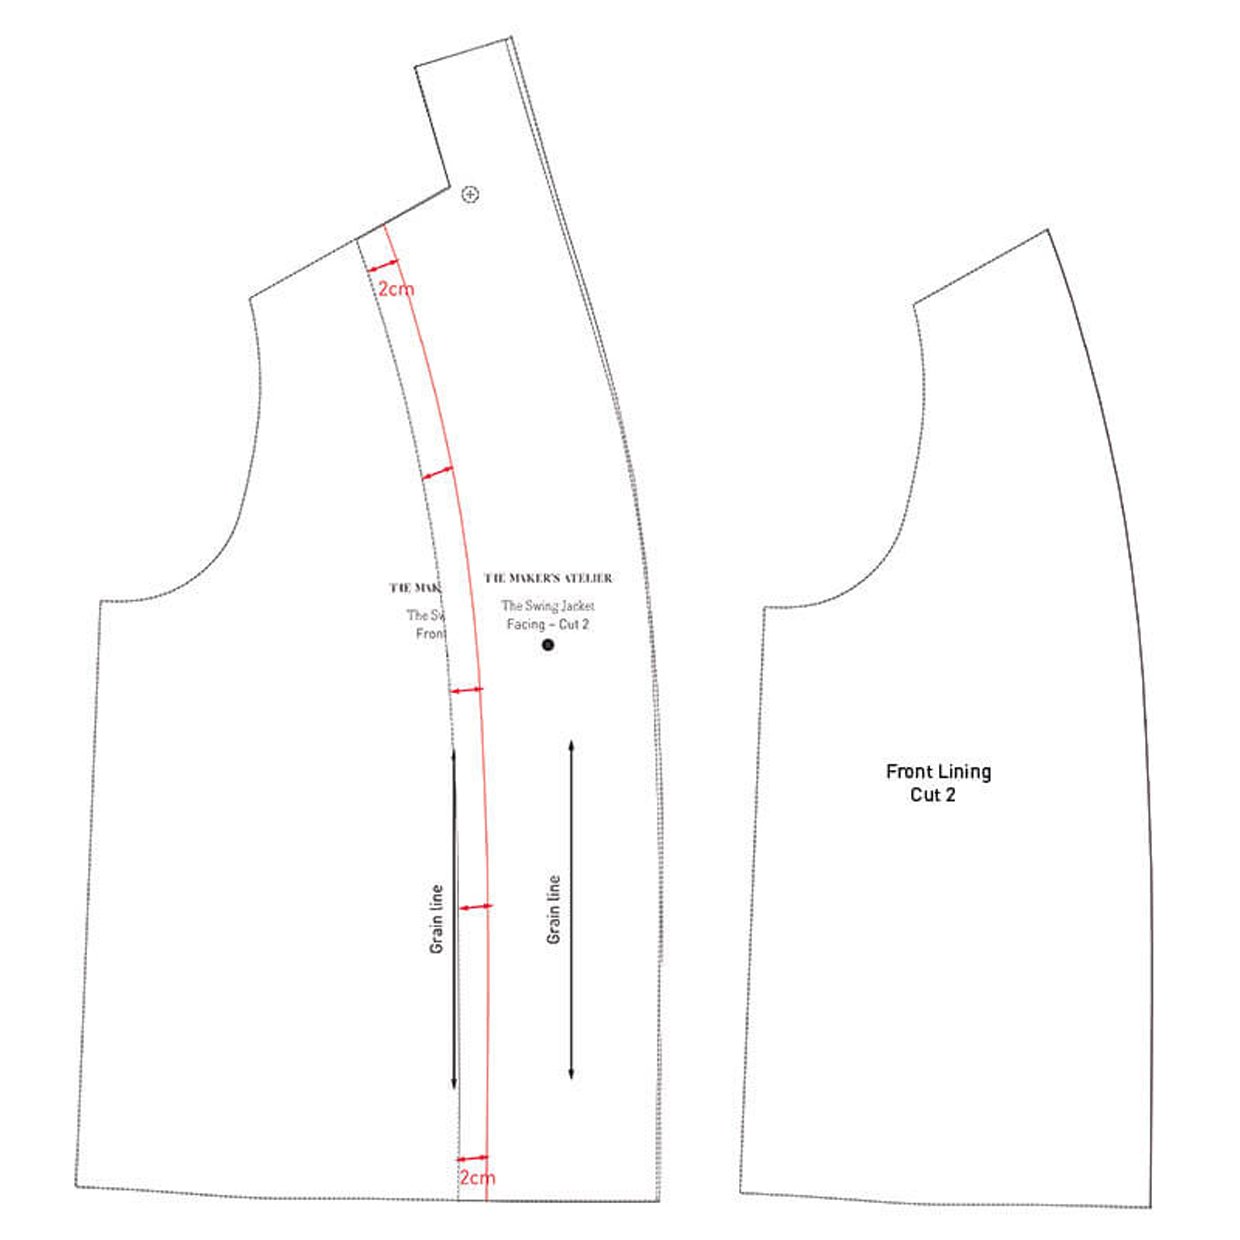
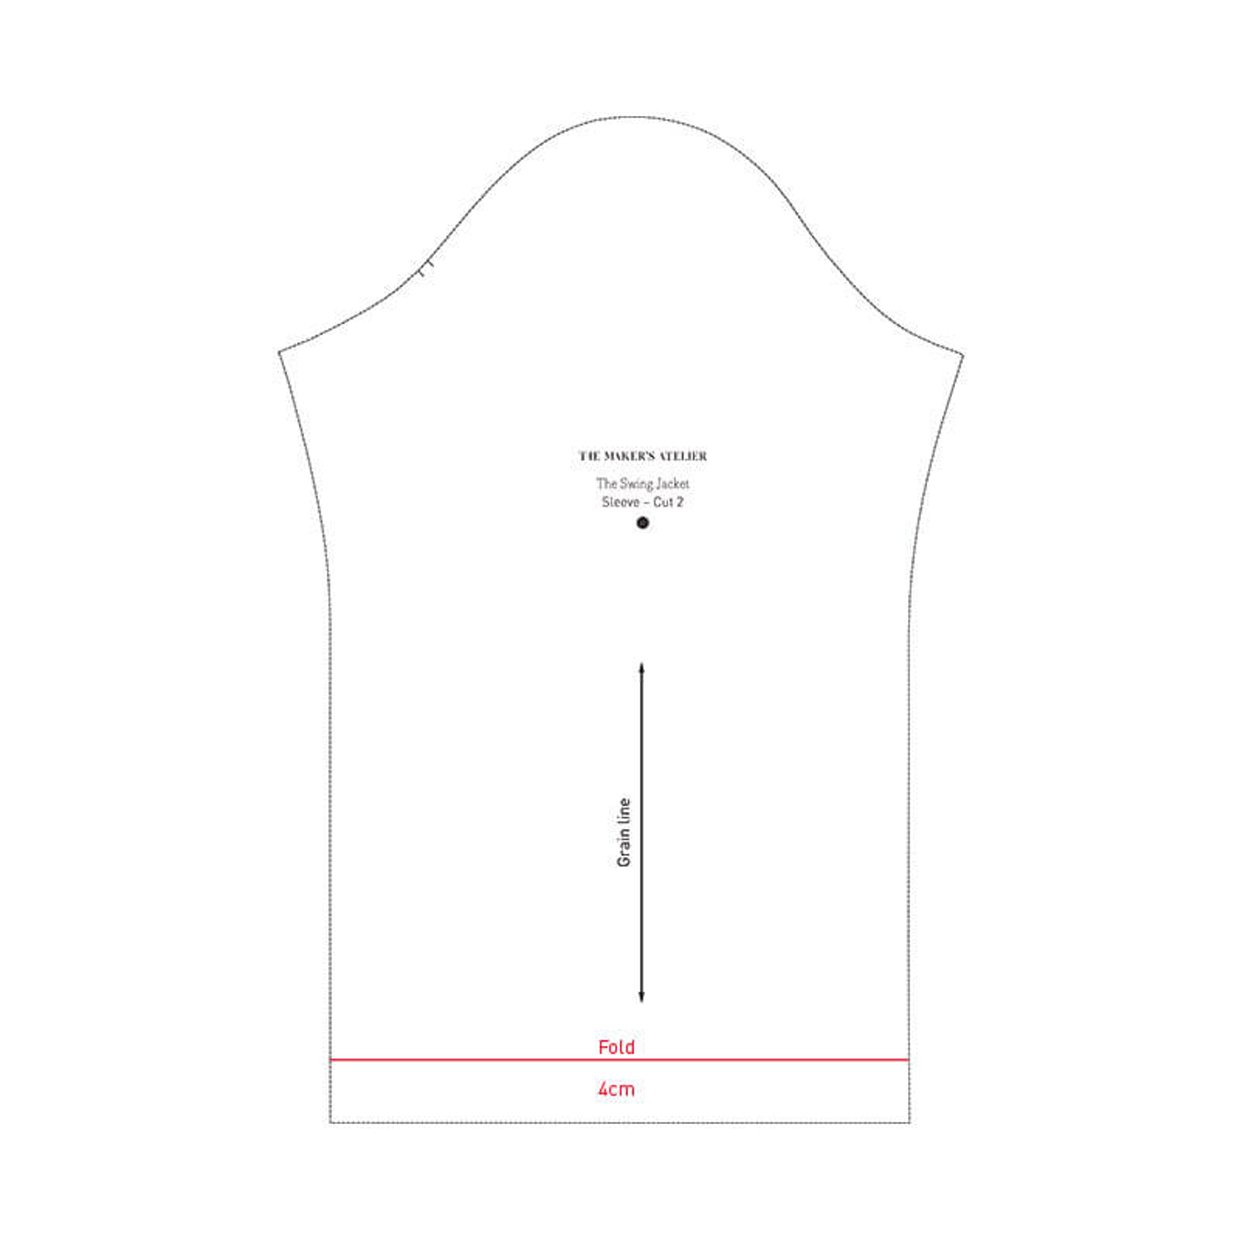
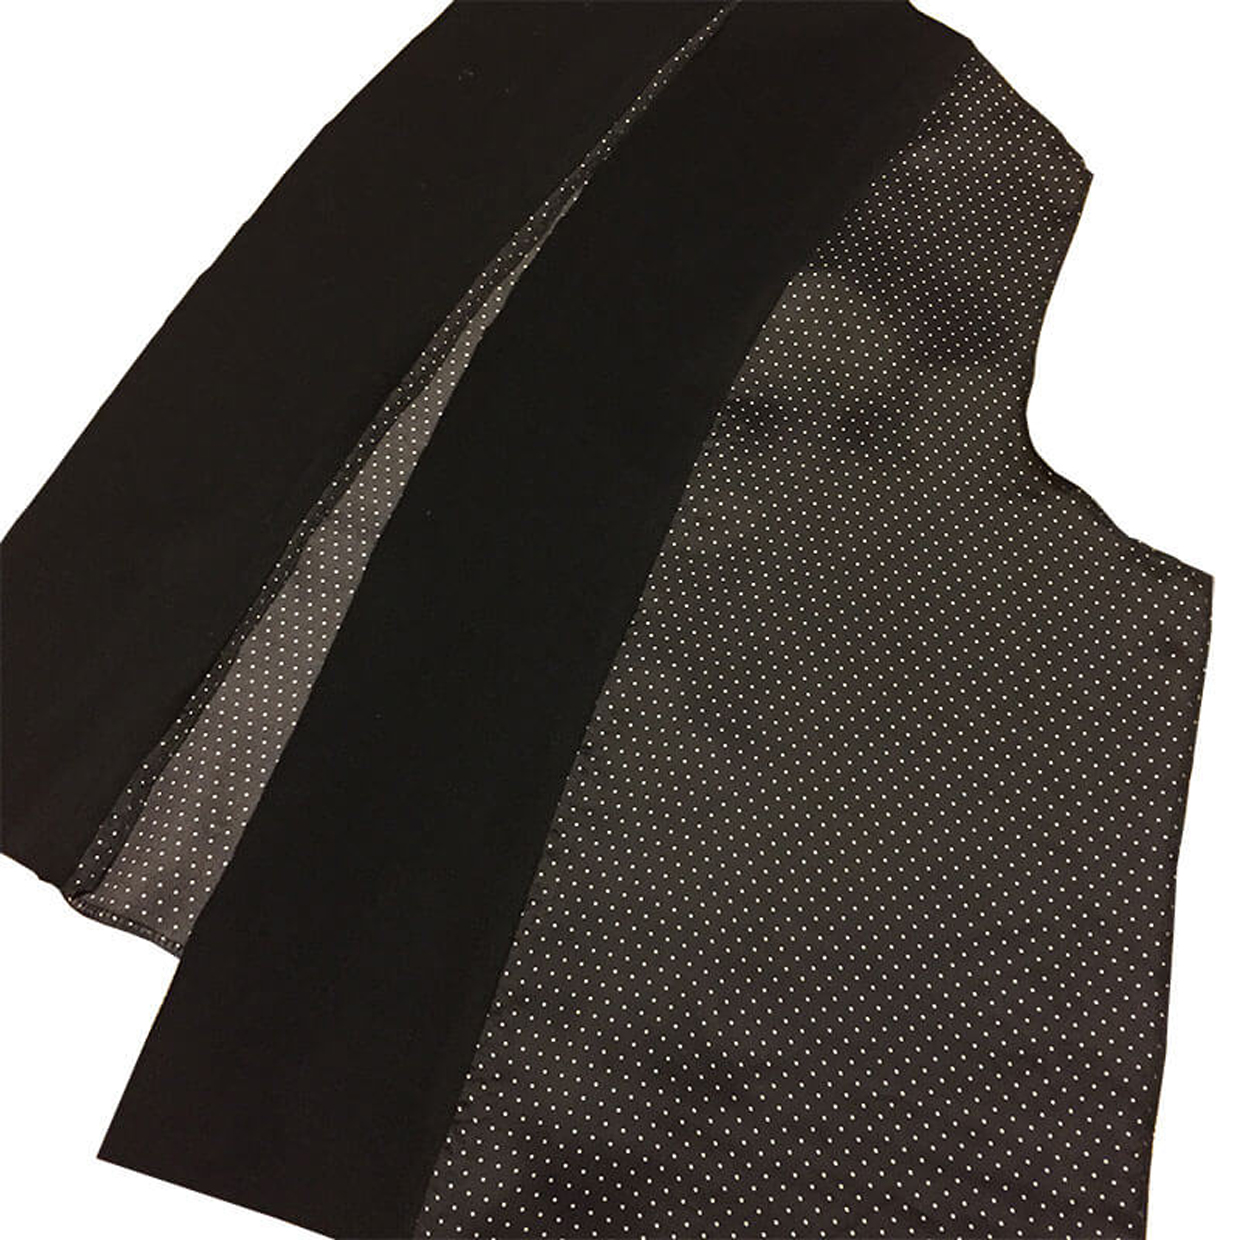
As the weather cools down and we head to the party season why not add a lining to your Swing Jacket? Here's how to do it......... First you need to create a simple lining pattern. From your Swing Jacket pattern take the jacket front piece and trace it off. Lay the facing piece over it and draw the facing edge line on to your new pattern piece.Remove the facing piece and then draw another line 2cm from the facing edge line. This will become the front lining piece. For the lining sleeves fold back your sleeve pattern by 4cm.
To Make - Cut out your main fabric as you would for the original unlined Swing Jacket. For the lining cut out 2 x new front pieces, 2 x original sleeves and 1 x original back. Make up the jacket out as shown in steps 1-3. Make up the lining by stitching the fronts to the back at the shoulder seam. Take the two facing pieces in the outer fabric and stitch together as shown in Step 4a from the instruction sheet.
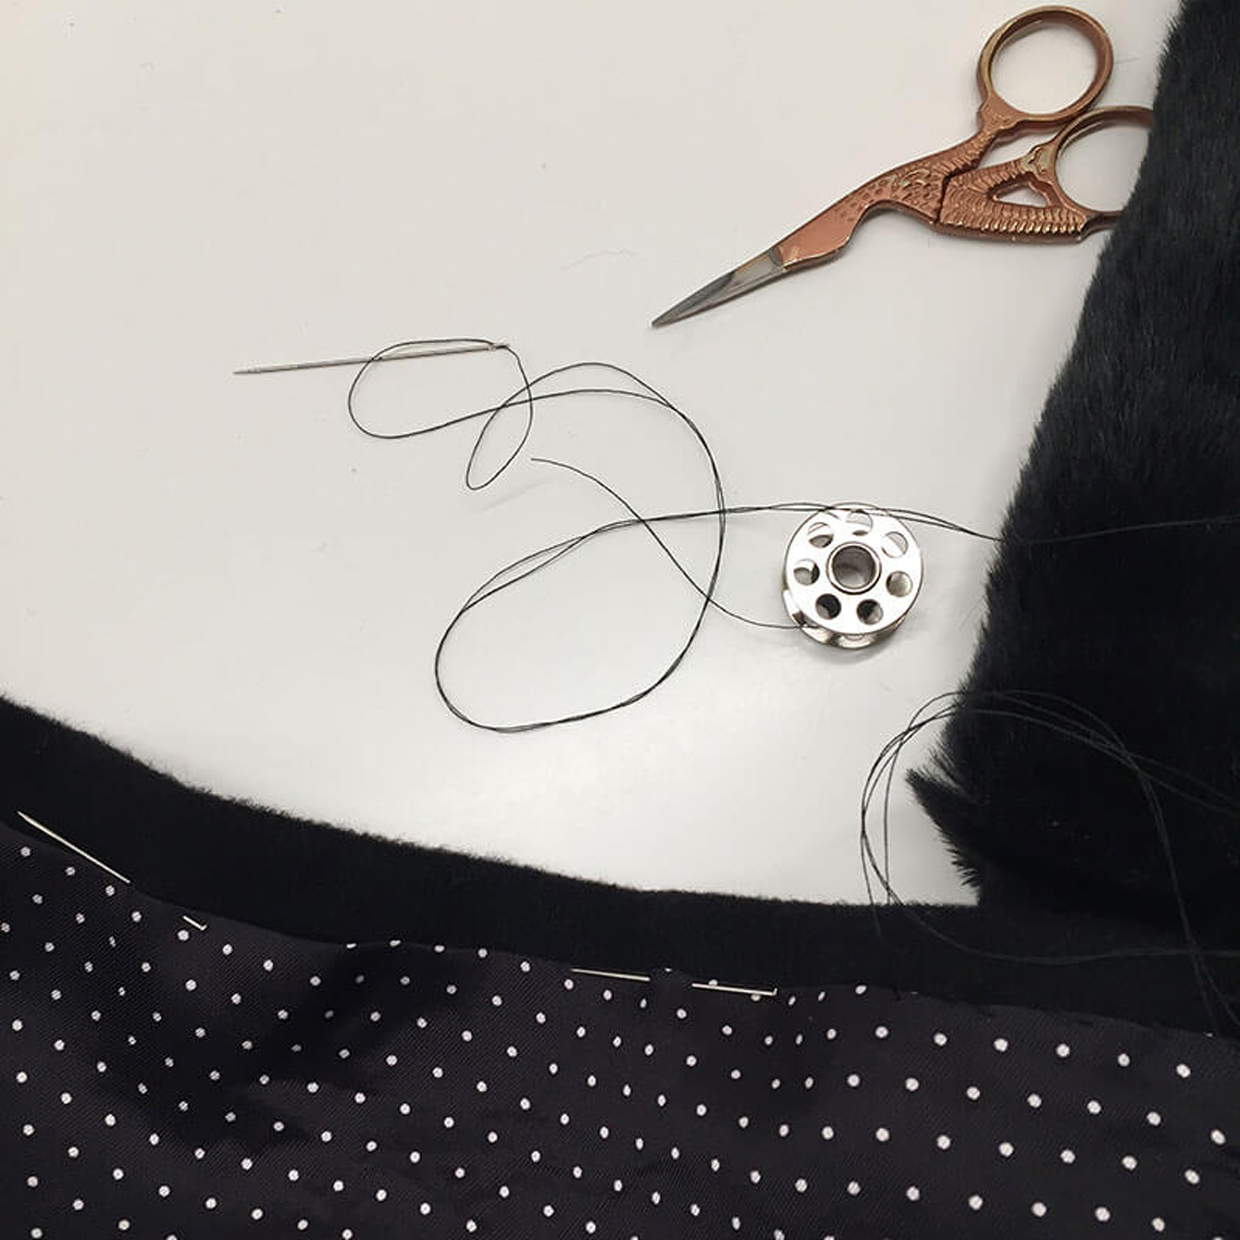
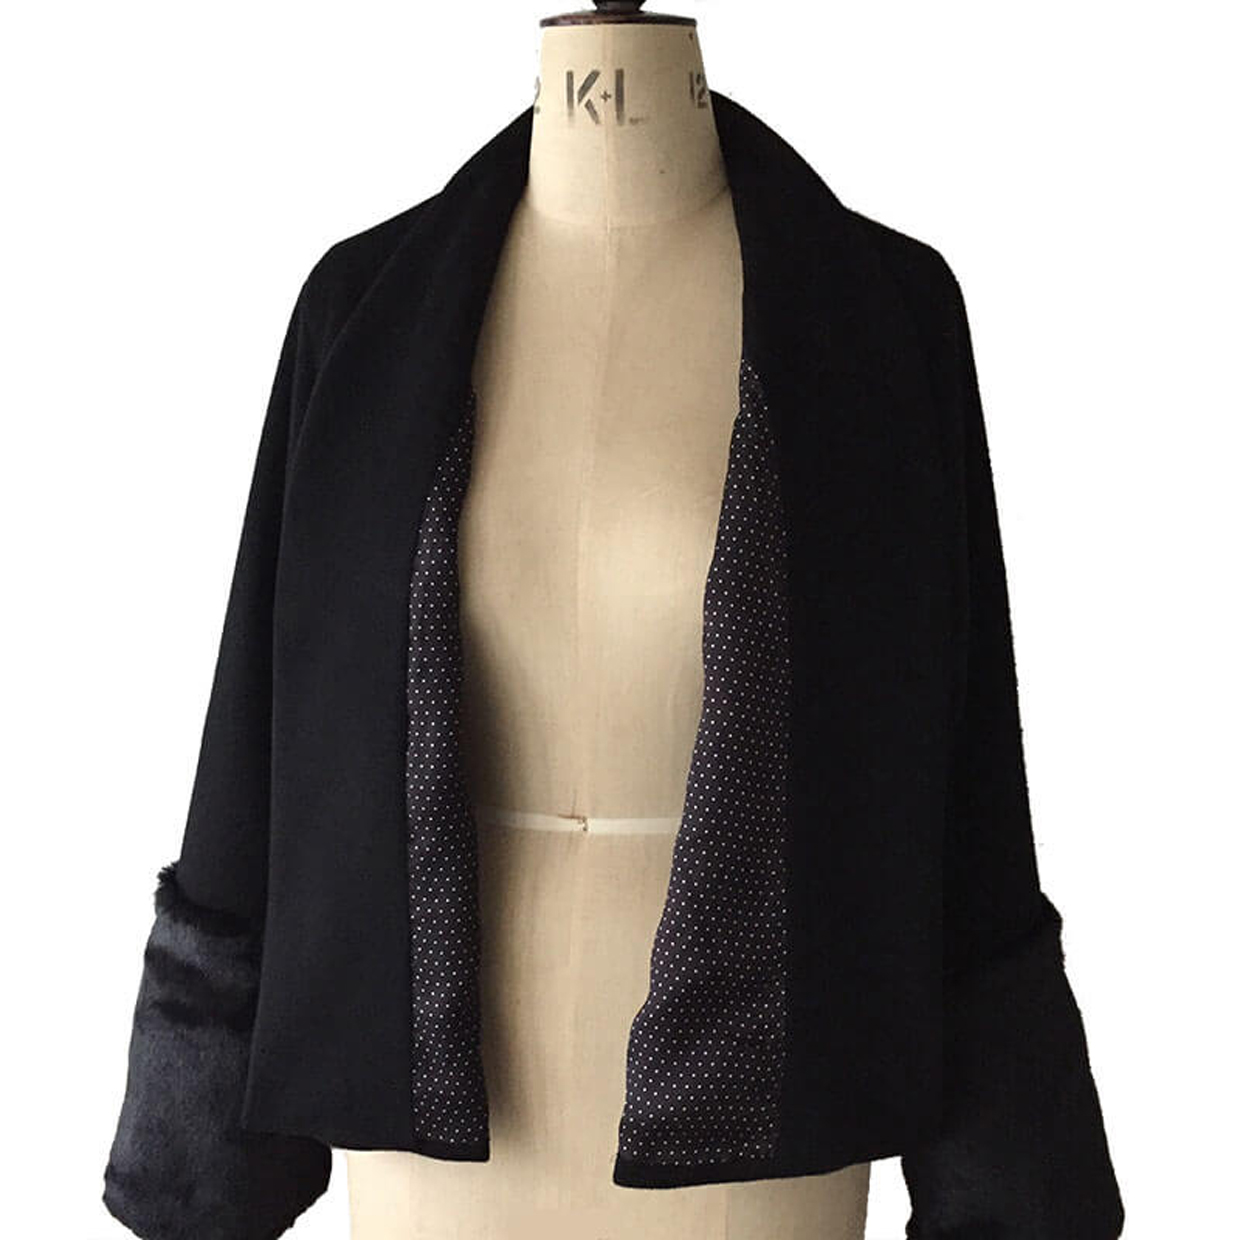
Then attach the lining to the facing. Attach the lining sleeves to the lining body at the shoulder. Now stitch up the side seam and underarm from the hem to the cuff taking slightly less seam allowance as you reach the underarm area. With the right sides of your fabric together, pin the lining with facing to your jacket outer and stitch through. Trim facings as shown in the instruction sheet. Turn your jacket through and press with a pressing cloth. I then hang my garment for a few days to let the fabric drop before tuning the hems and cuffs in place and hand stitching together.
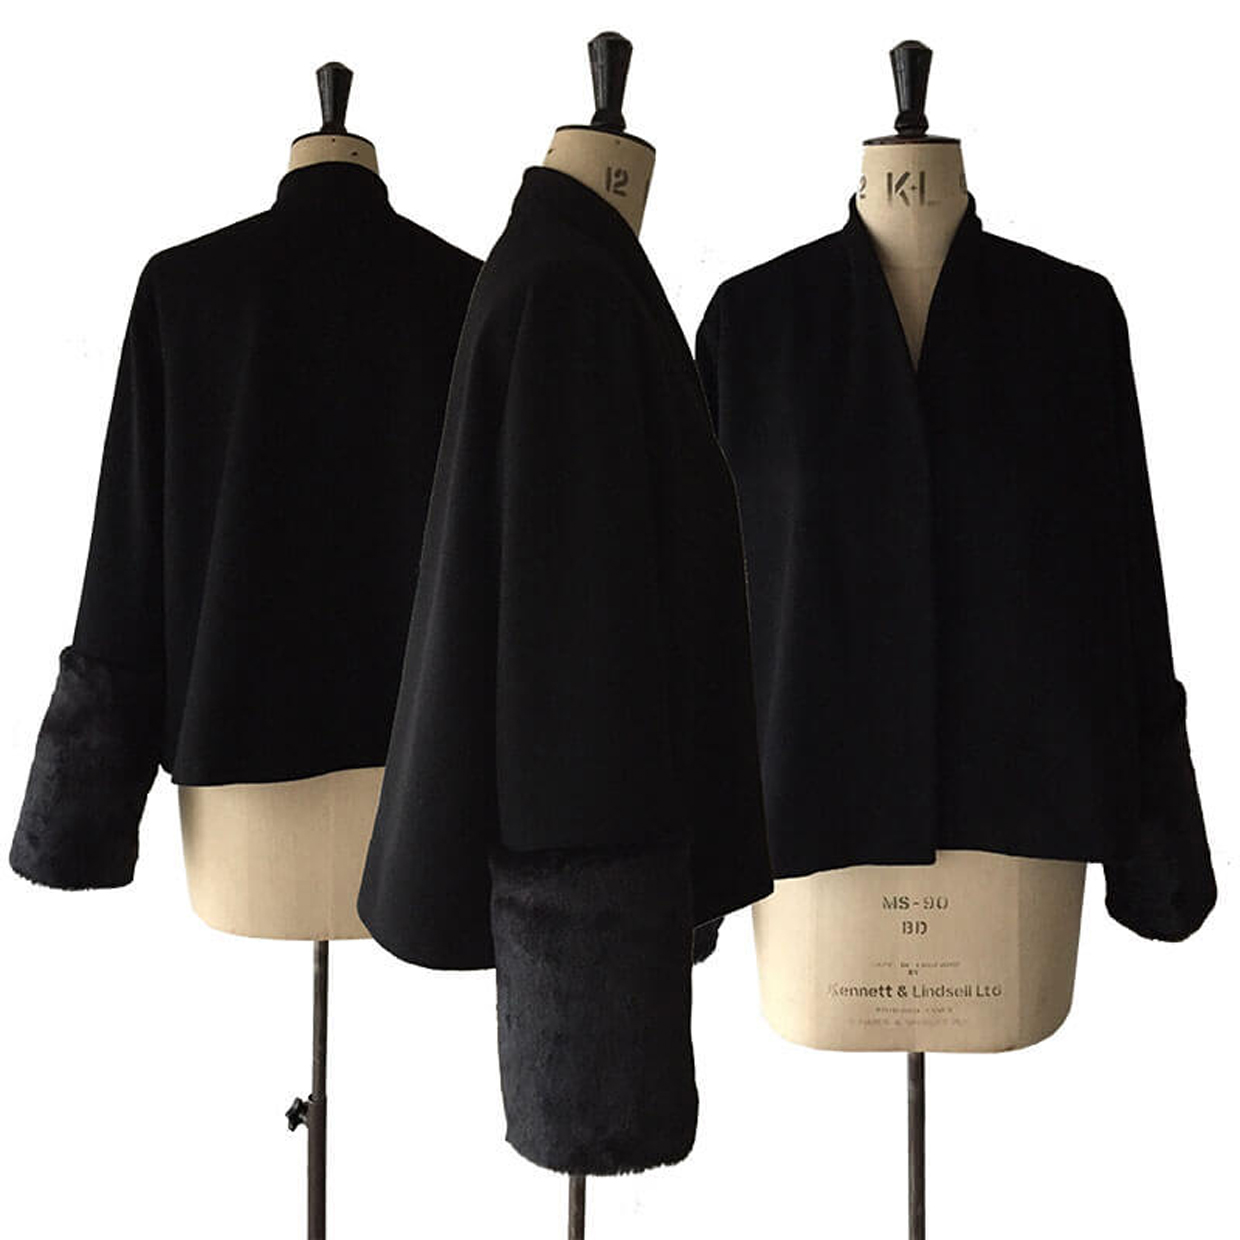
For this jacket I also added a cuff detail. I've had some really soft faux fur hanging around for ages and I liked the idea of the bottom third of my sleeve being in a contrast fabric. With the faux fur and the lining, it feels like a very luxurious jacket indeed!
