21st September 2019
Pattern variation
Lowering the pleat
I like receiving feed back on the design of the sewing patterns and this can influence how I may alter a style when I’m making a new sample. One of the comments I had received about The Pleat Detail Dress was that the base of the inverted pleat is a bit high if you are more curvaceous.
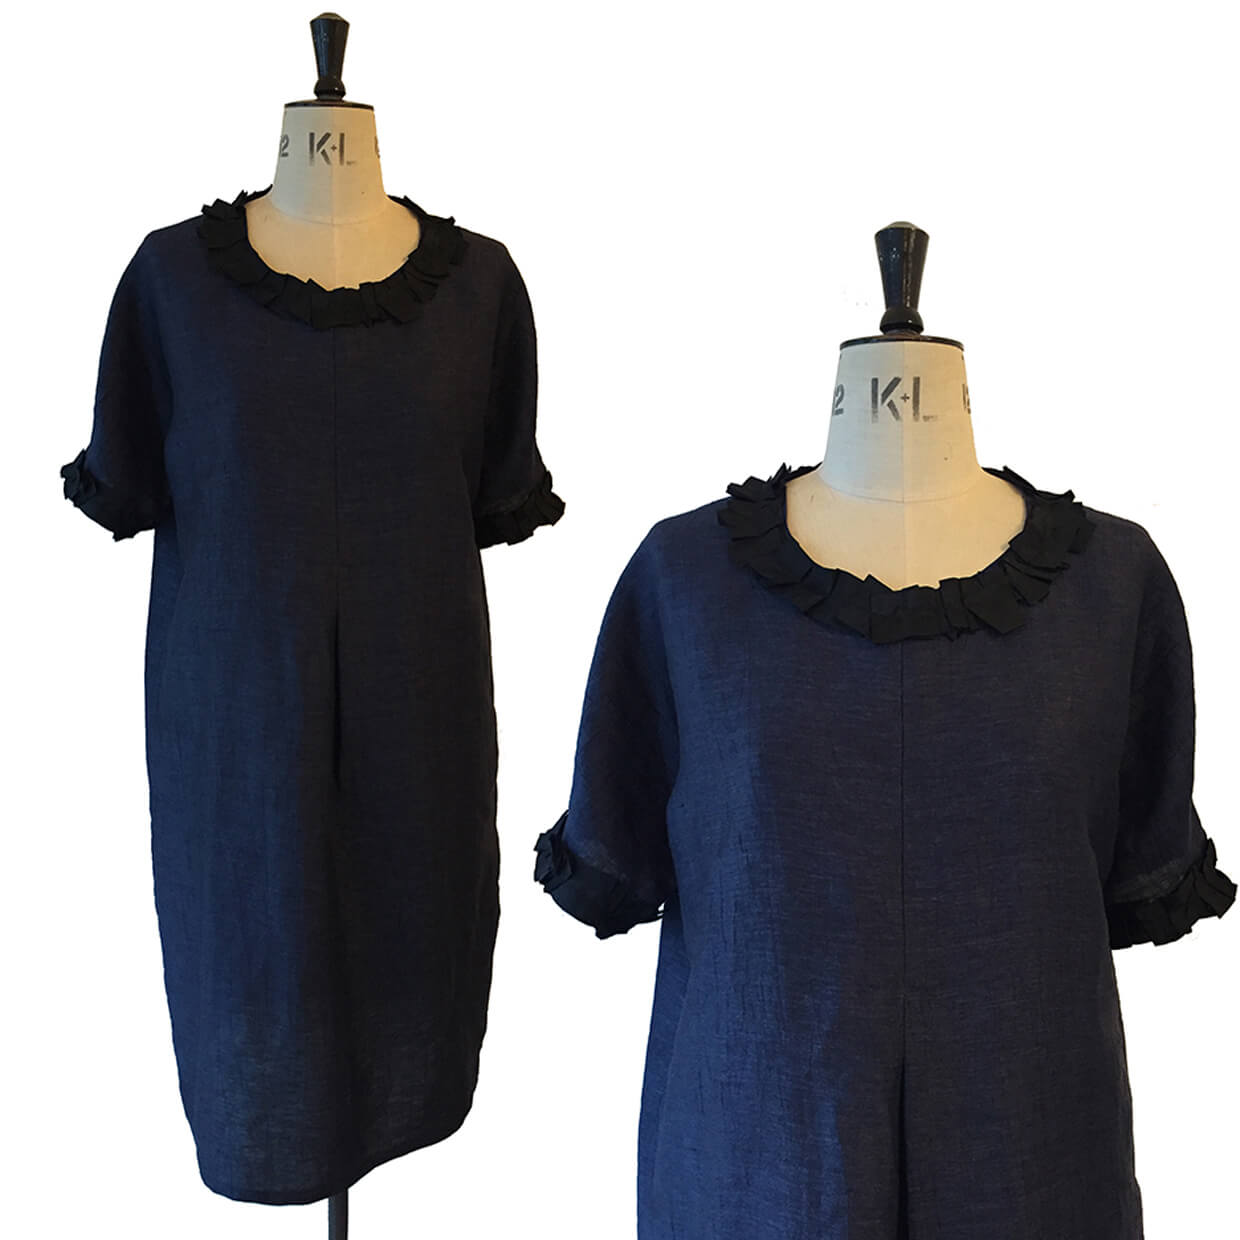
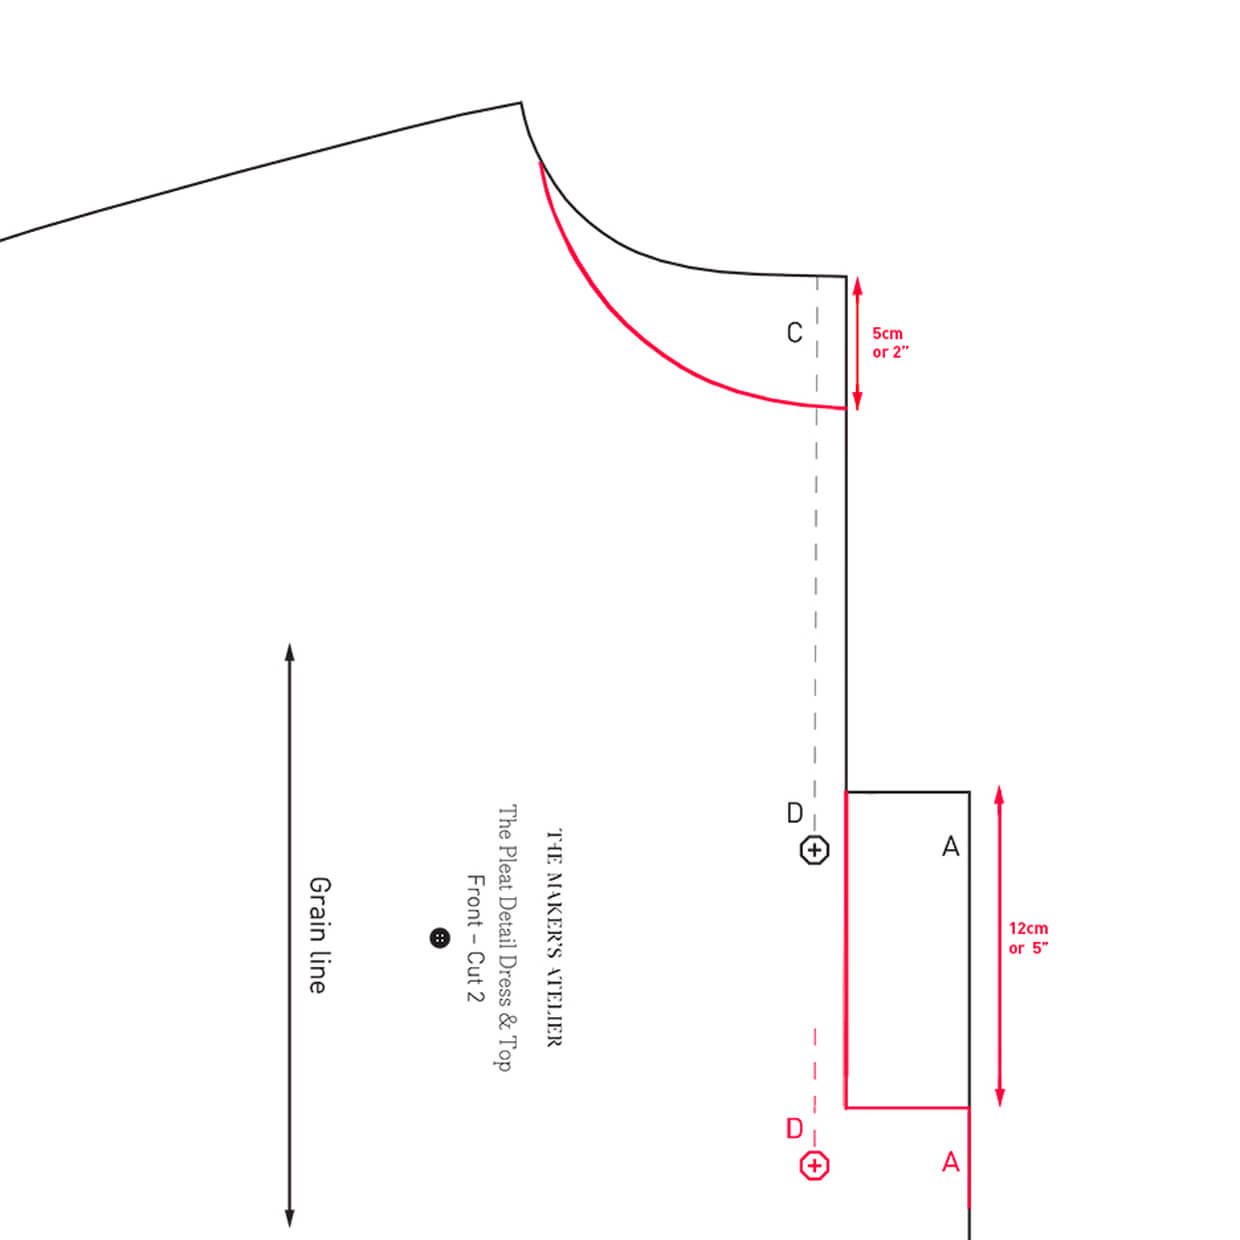
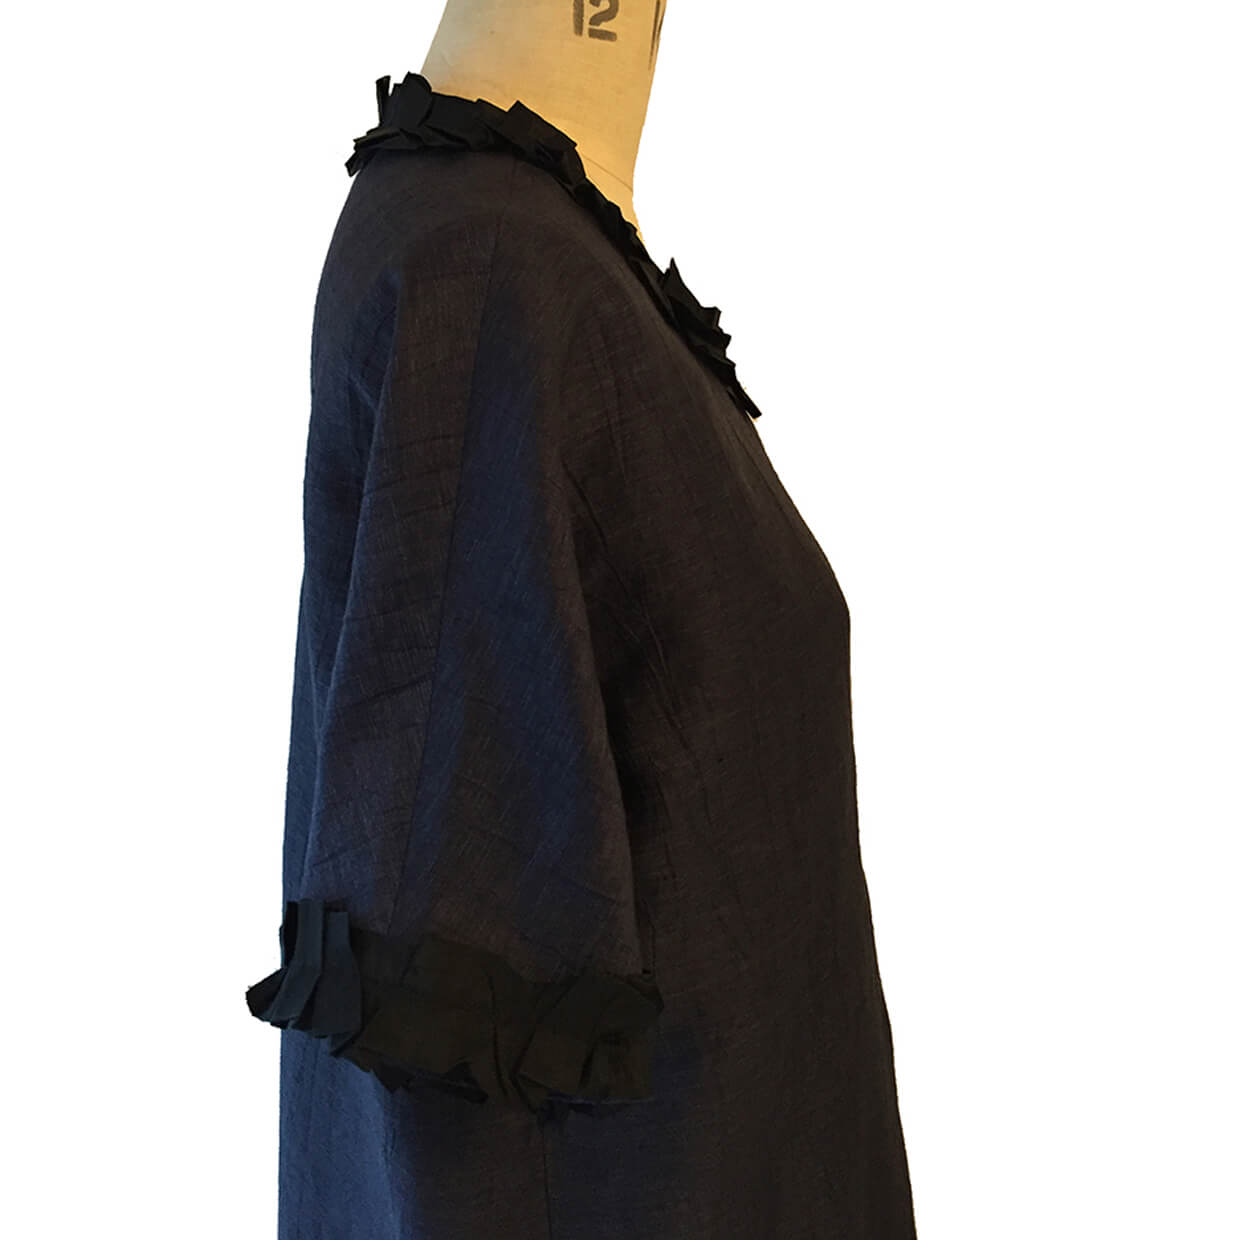
Ideally the pleat opening should start 5cm or 2" below the widest part of the bust or the pleat will flare unflatteringly high. For the sample pictured here I continued the pleat down to sit 44cm / 17" from the side-neck. To balance out this alteration I lowered the neckline slightly. Both of these are quite simple steps to make. As you can see from the sewing pattern piece for the neck I have lowered the base by 5cm / 2” and graduated the curve round.You will need to trace off this new neckline and create a new front facing piece unless you are using seam binding to finish your neck. Then to lengthen the pleat I traced that section of the pattern and moved it down by 12cm / 5”. And then followed the instructions as before.
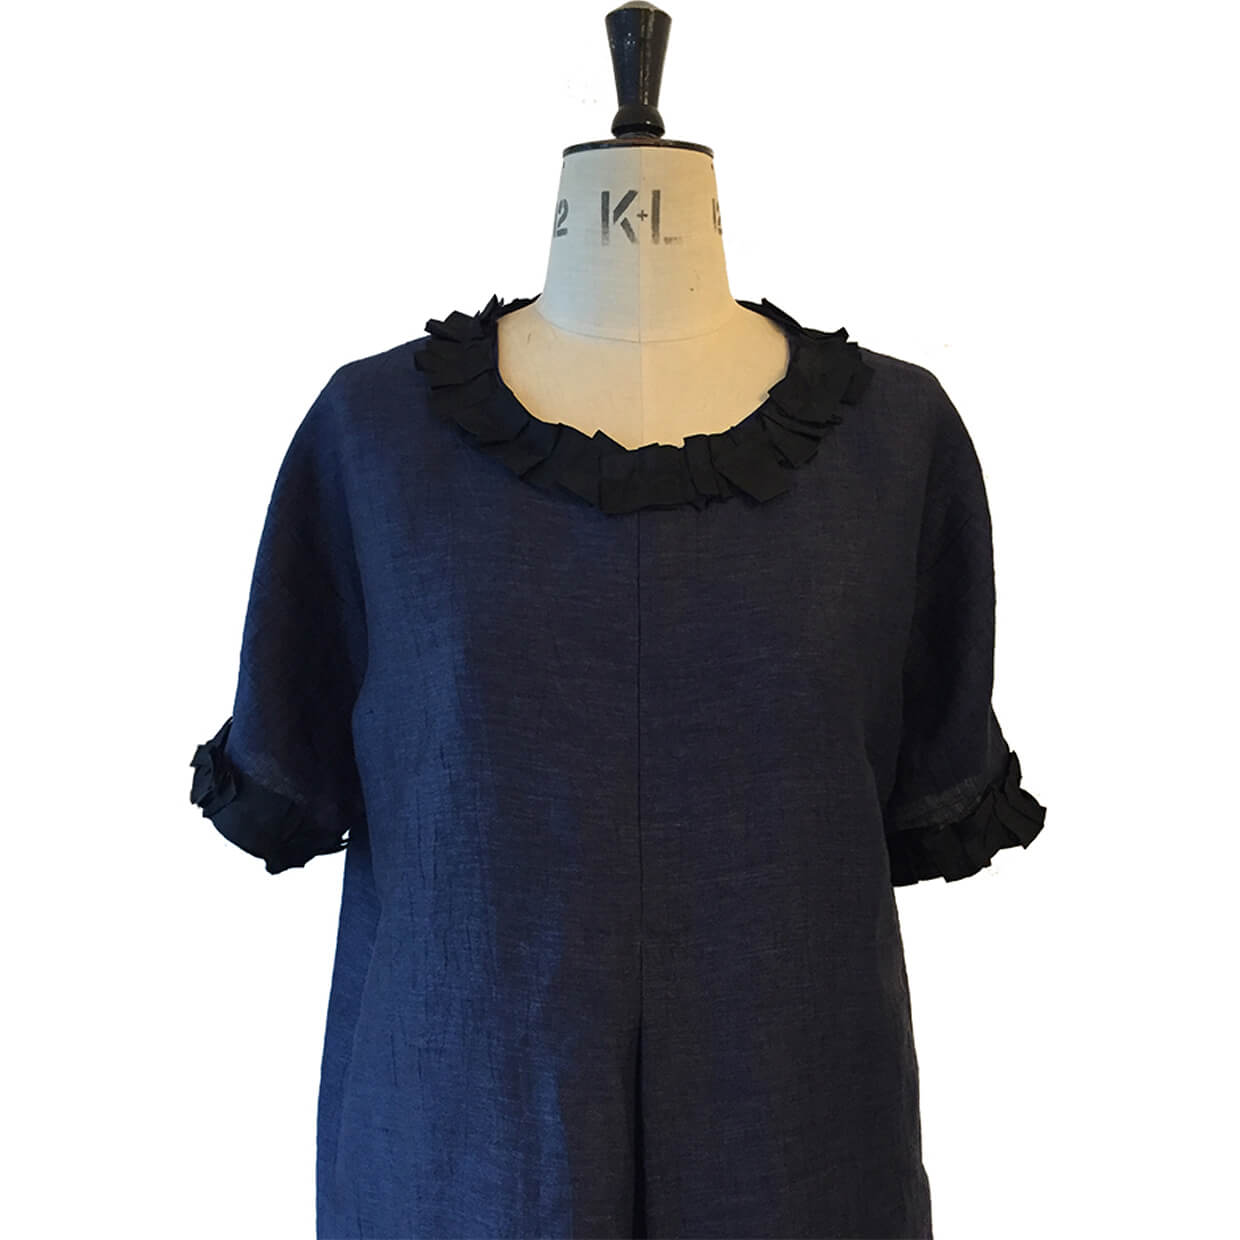
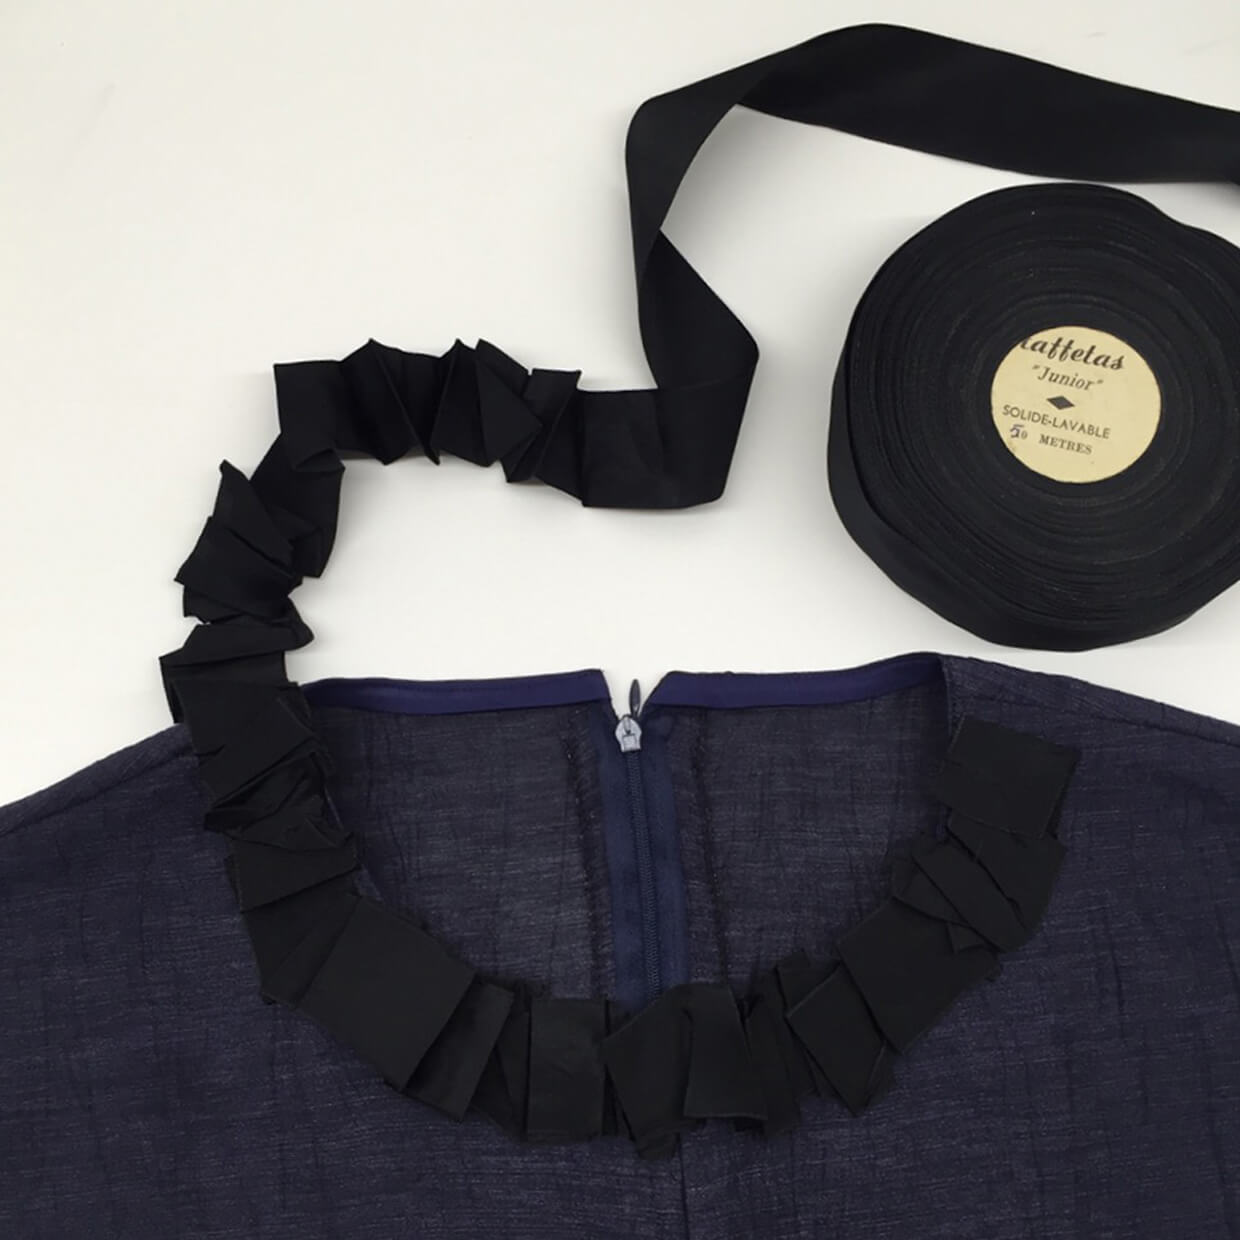
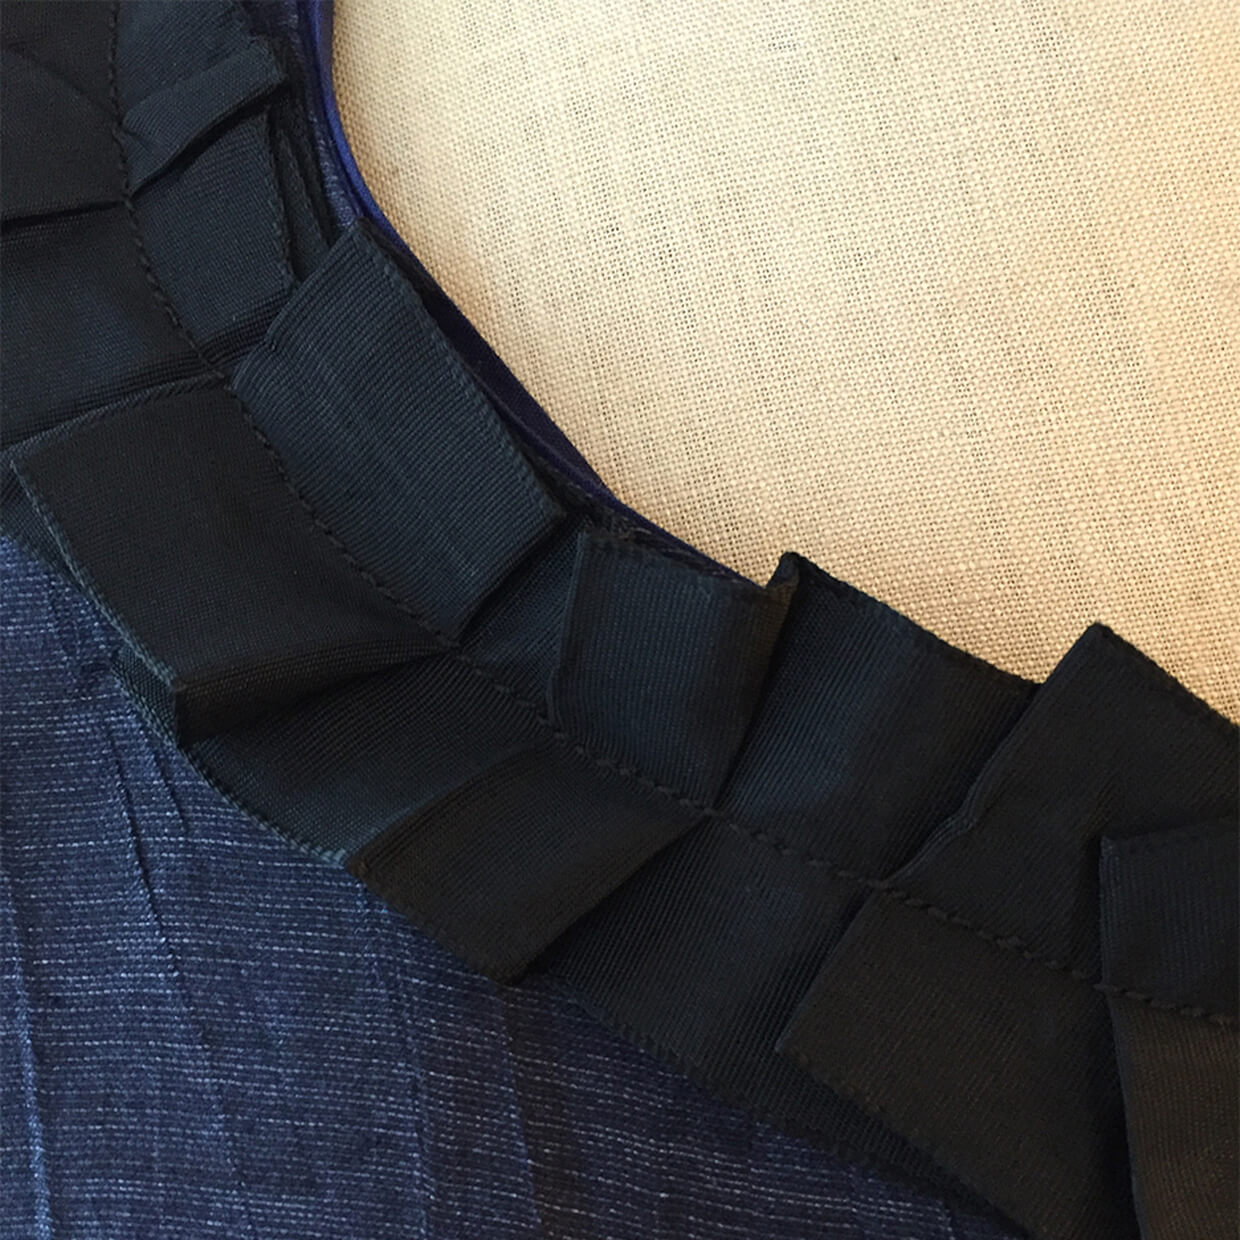
I’ve also added a ribbon trim to the neck and sleeve cuff. To recreate this sort of trim you will need approximately 4-6 metres / yards of grosgrain ribbon. To create the randomly folded pleats, simply roughly fold and then press with a warm iron – not too hot or you’ll burn/melt the ribbon! Of course you could use a pressing cloth but it’s difficult to see what you’re doing. Once the ribbon has been pleated, either pin or tack to the neck and cuffs of the dress. Then secure in place with a line of top stitching using a thicker thread. This looks more ‘finished’ than a simple line of stitching.
