14th March 2019
Pattern variation
Adding a ribbon trim
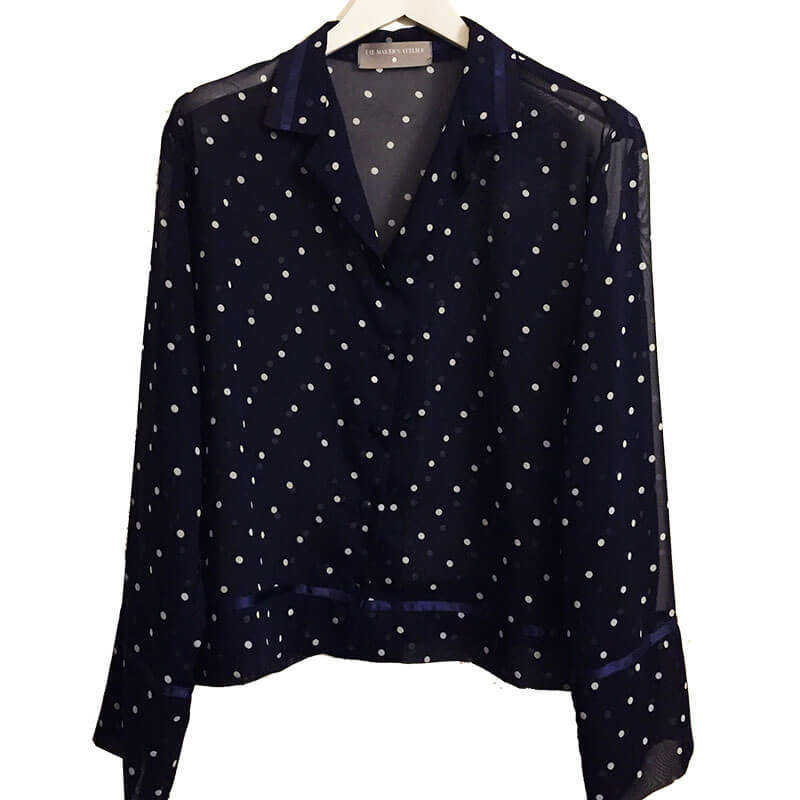
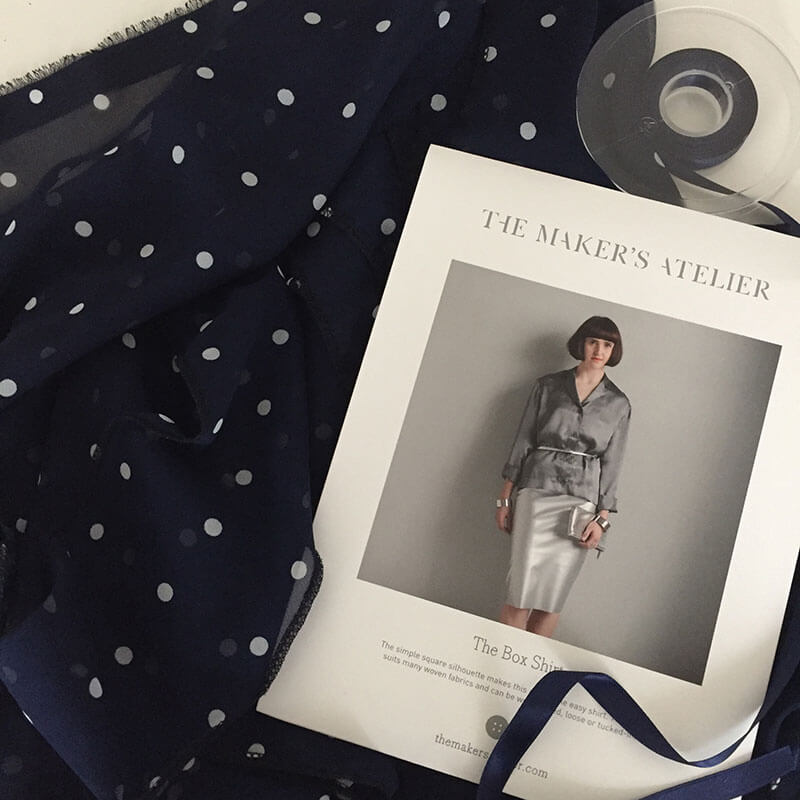
Adding a ribbon trim to this sheer version of The Box Shirt is a stylish way to update this classic. Here are the step-by-step instructions to how I did it.
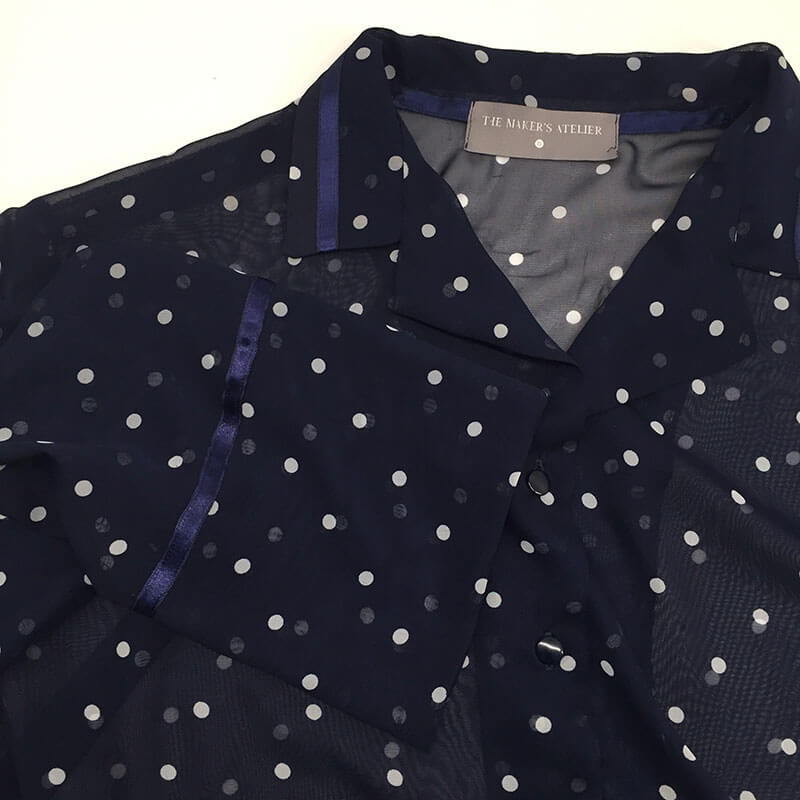
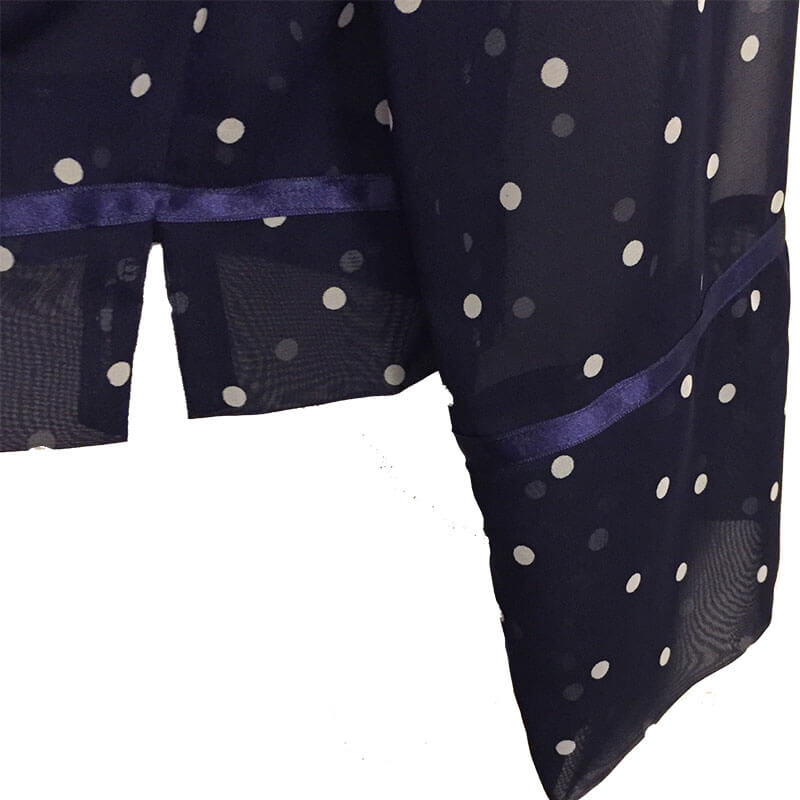
I added the ribbon trim to the collar, cuffs and hem - this takes approximately 2.5 metres of 1cm wide ribbon. To accentuate the ribbon trim and cuff, I elongated the sleeve to give a finished cuff depth of 15cm.
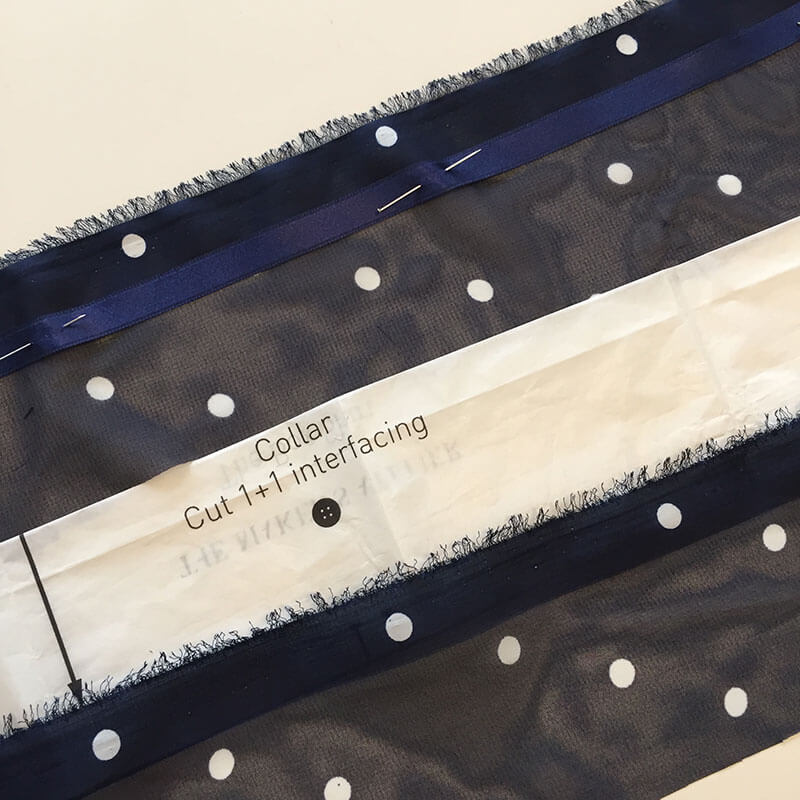
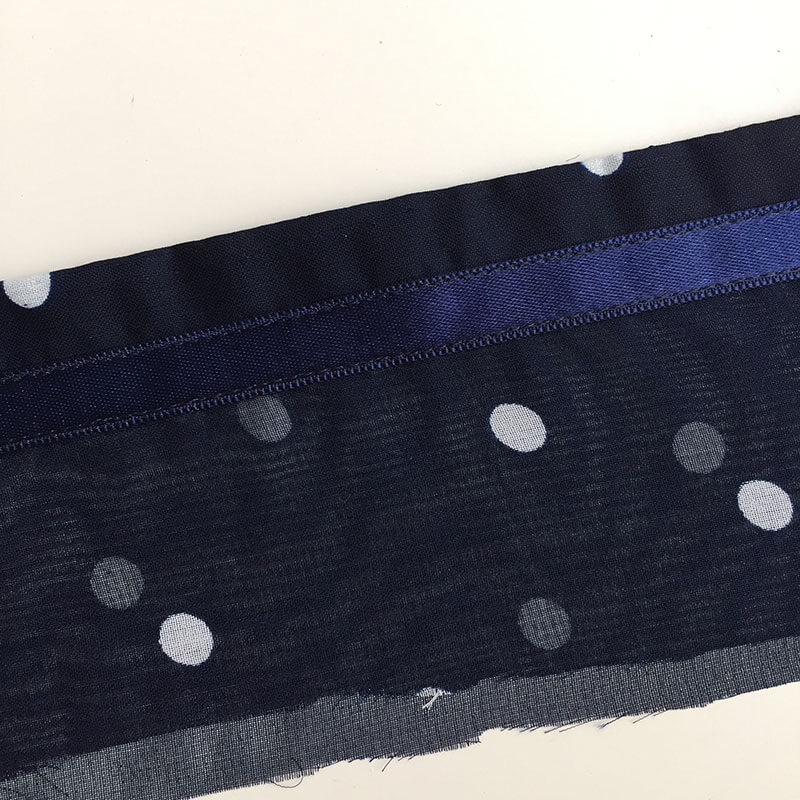
The sheer fabric I found in my fabric collection has a solid band running down the selvedge edge, I decided to utilise this as an opaque strip on the edge of my collar. Before stitching my collar pieces together I added the ribbon trim to the top collar piece, butting it up to the opaque band and stitching in place, down both edges of the ribbon.
I then stitched the two collar pieces together and turned through. I completed the rest of my shirt as instructed in the pattern adding the rest of the ribbon trim at the end.
To add the ribbon to the cuff I placed one end of the ribbon over the cuff seam at the underarm seam. I pinned it all the way around, trimming the ribbon 1cm over the cuff circumference, turn the end over by 0.5cm before stitching in place around both edges of the ribbon.
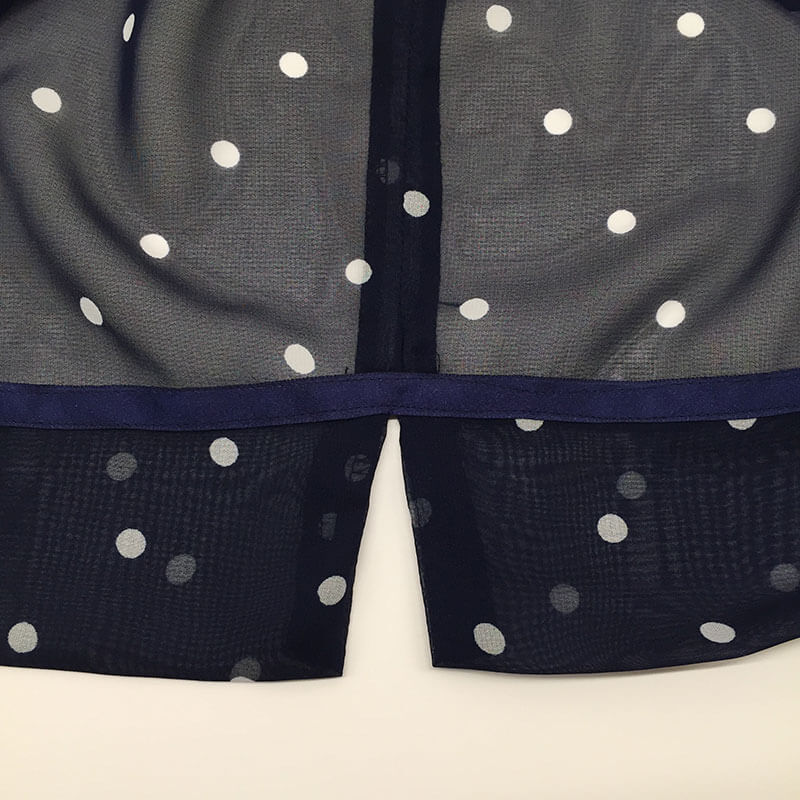
For the hem I started the ribbon on the inside in line with the facing on the hemline, then bringing it around to the front of the garment and placing over the hemline all the way around and back inside on the other shirt front.
The simple addition of this ribbon trim makes all the difference to the finished effect of the shirt.
