12th December 2018
Pattern variation
Lining The Shawl Collar Coat
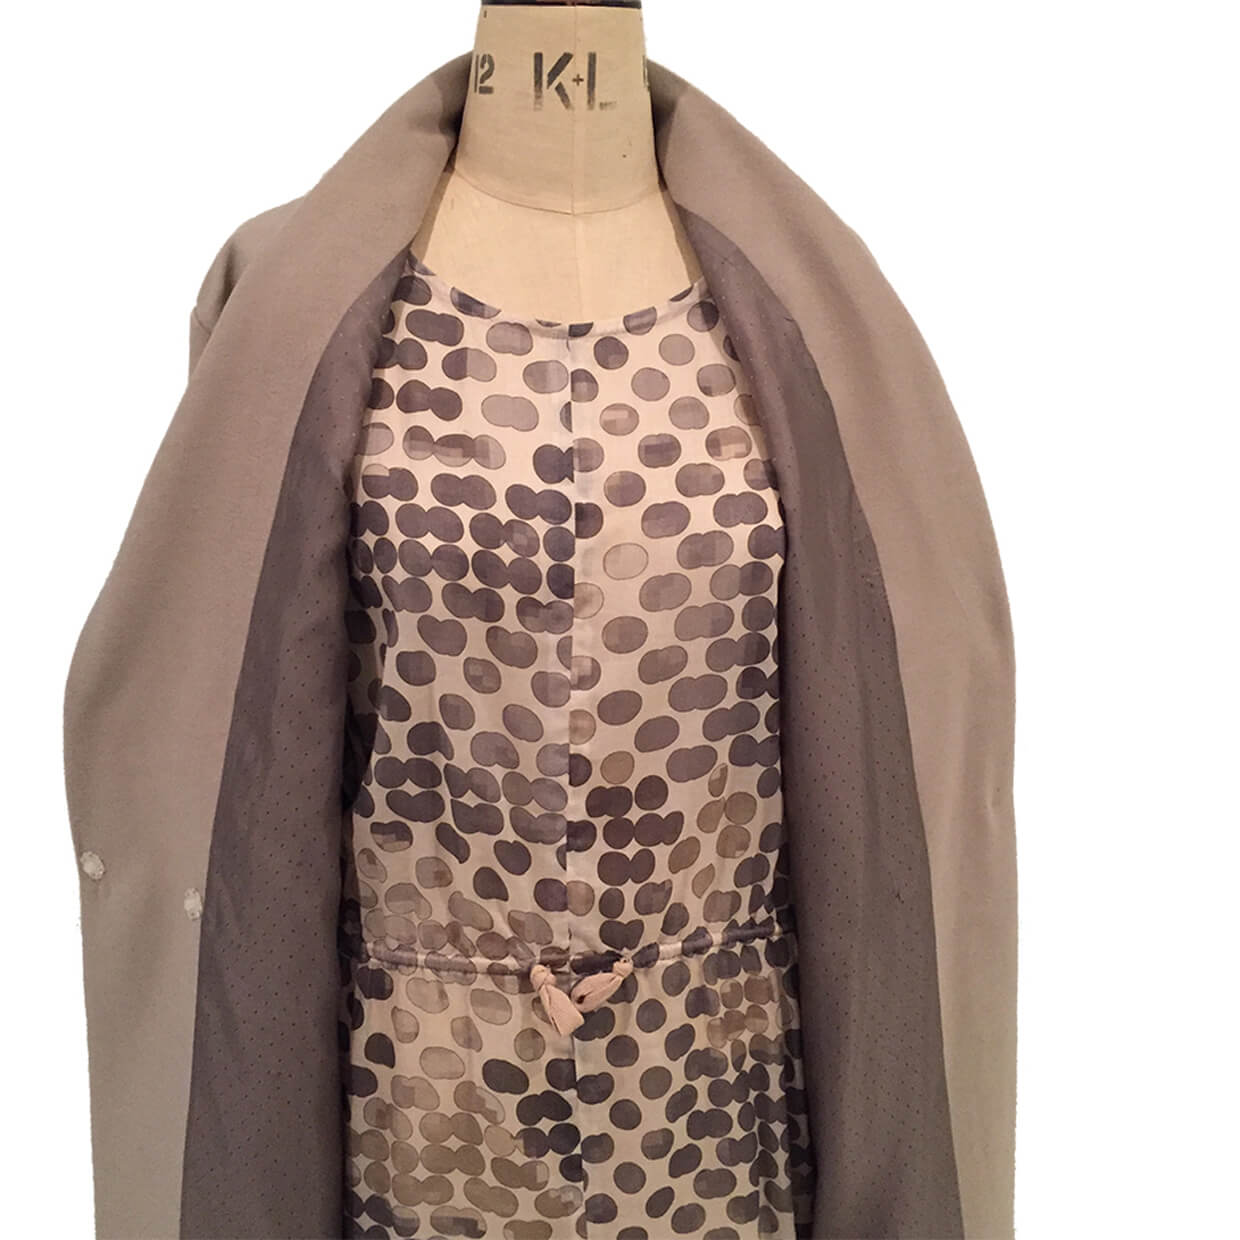
Now the weather is colder, I’ve had lots of requests for how to line the Shawl Collar Coat, so here’s how I’ve done it. You’ll need some pattern paper to trace off the original pattern front and upper collar pieces.
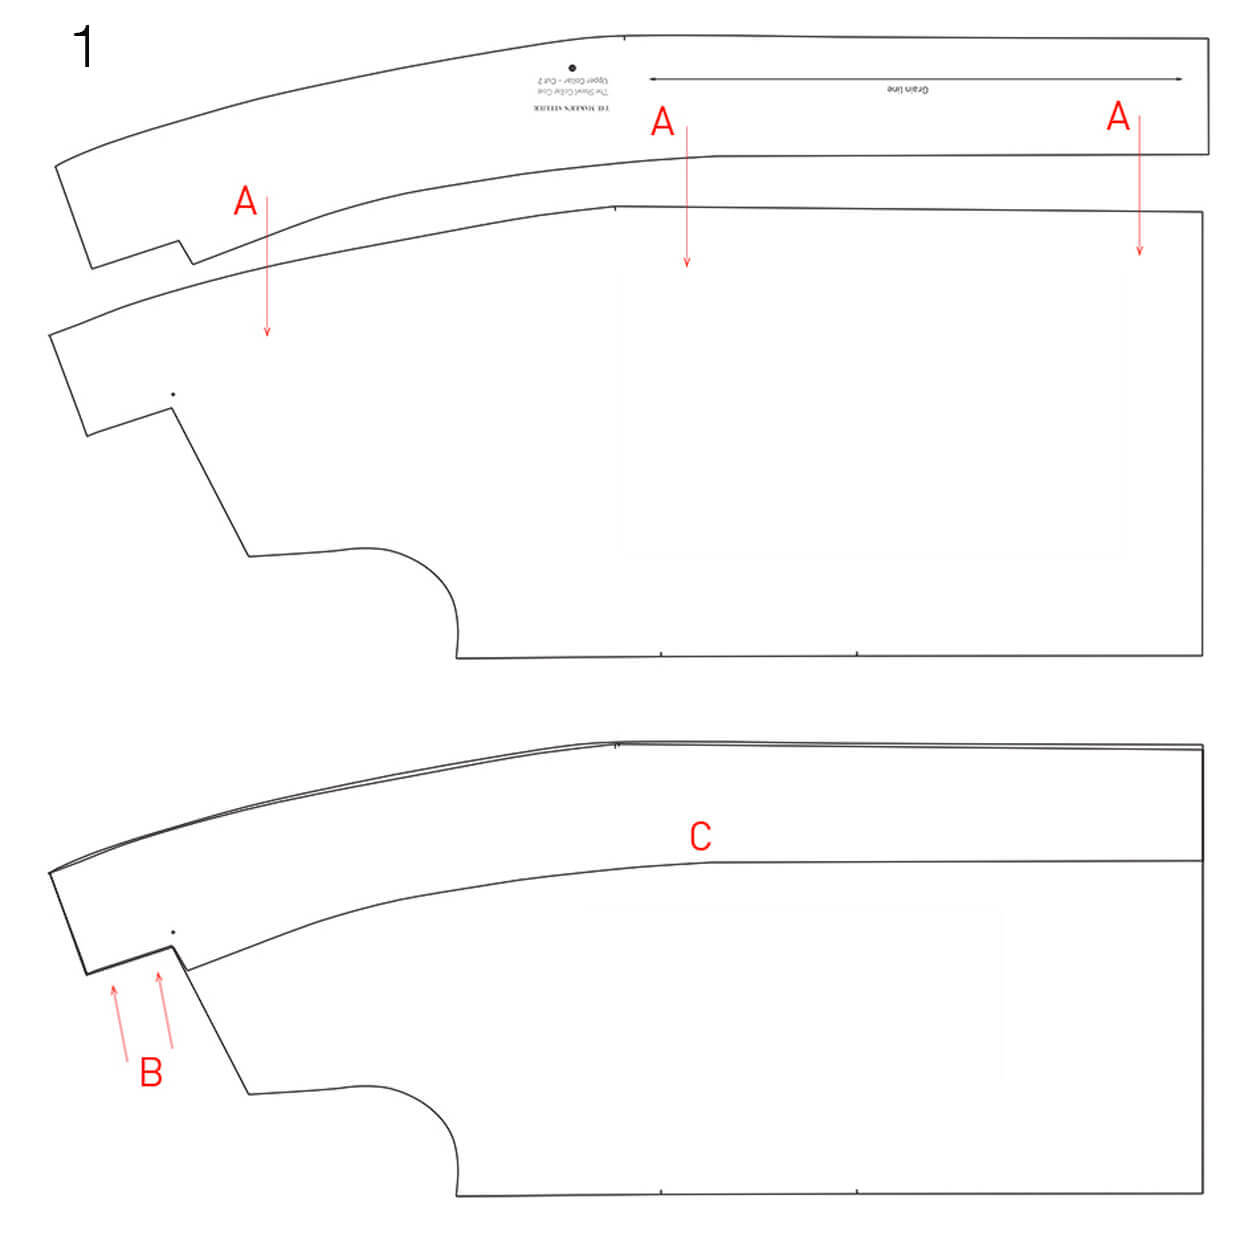
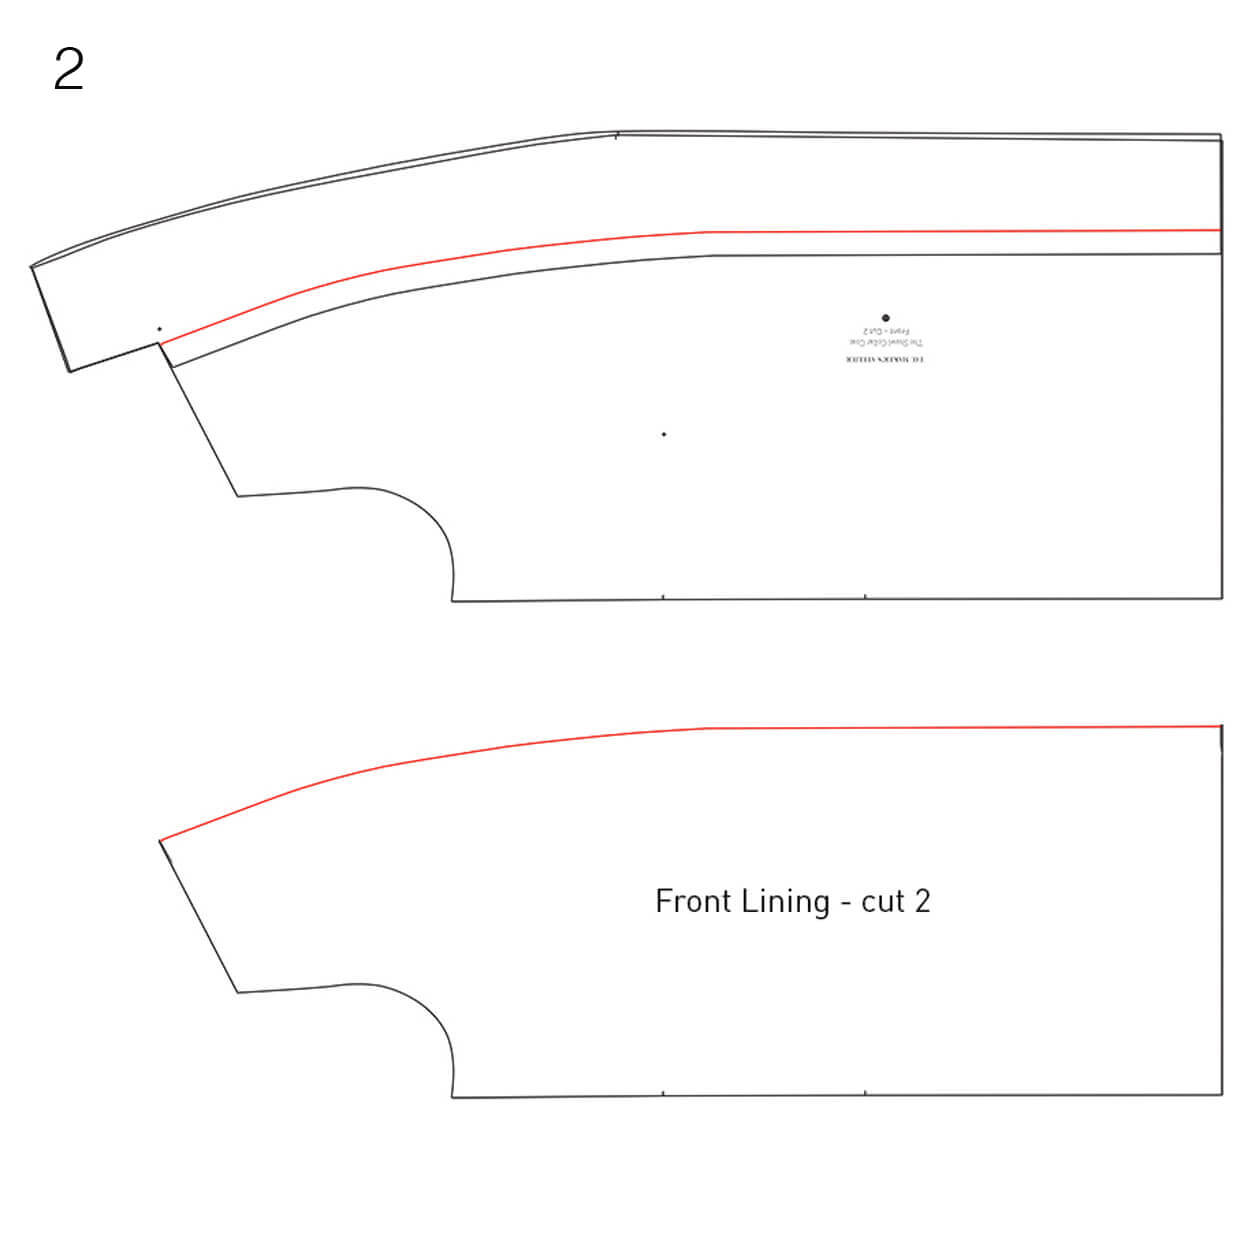
First trace off the coat front – then place the upper collar piece on top (A).Making sure the back neck edges are over each other (B)-illustration 1. Draw the facing line C in pencil on to your new pattern piece. Now draw a new line 2cm above line C- shown above in red. Rub out the lower facing line - illustration 2. Now cut out your new pattern piece – this is your front lining piece. When cutting out my outer/main fabric I added 8cm to the length of the front, upper collar and back pieces.
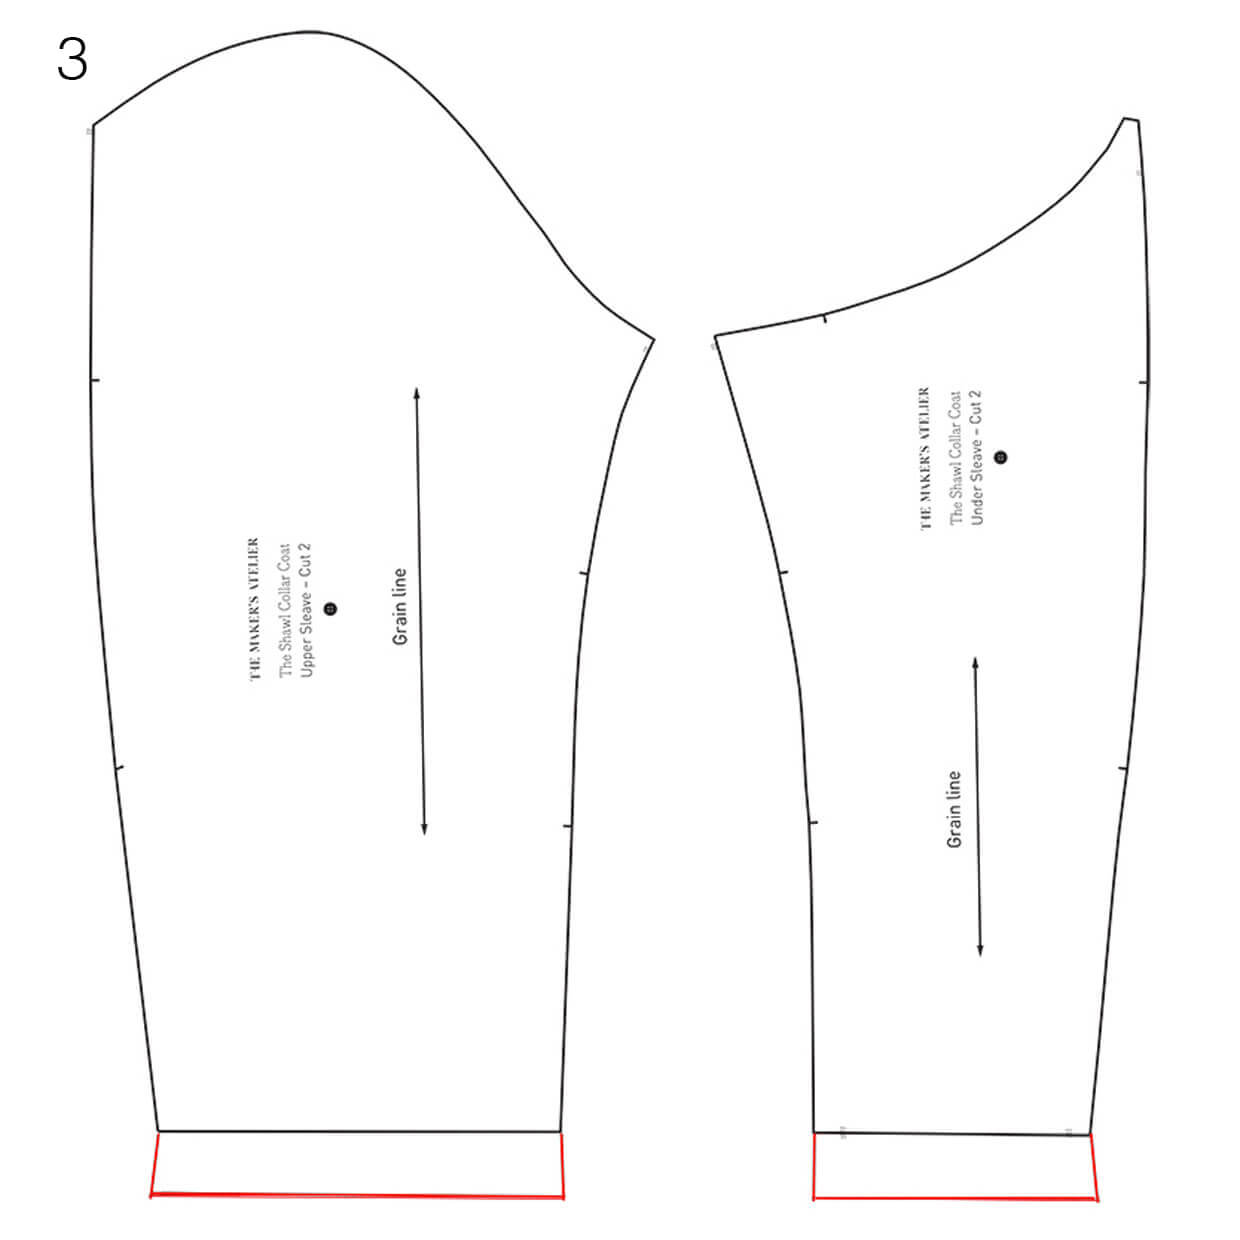
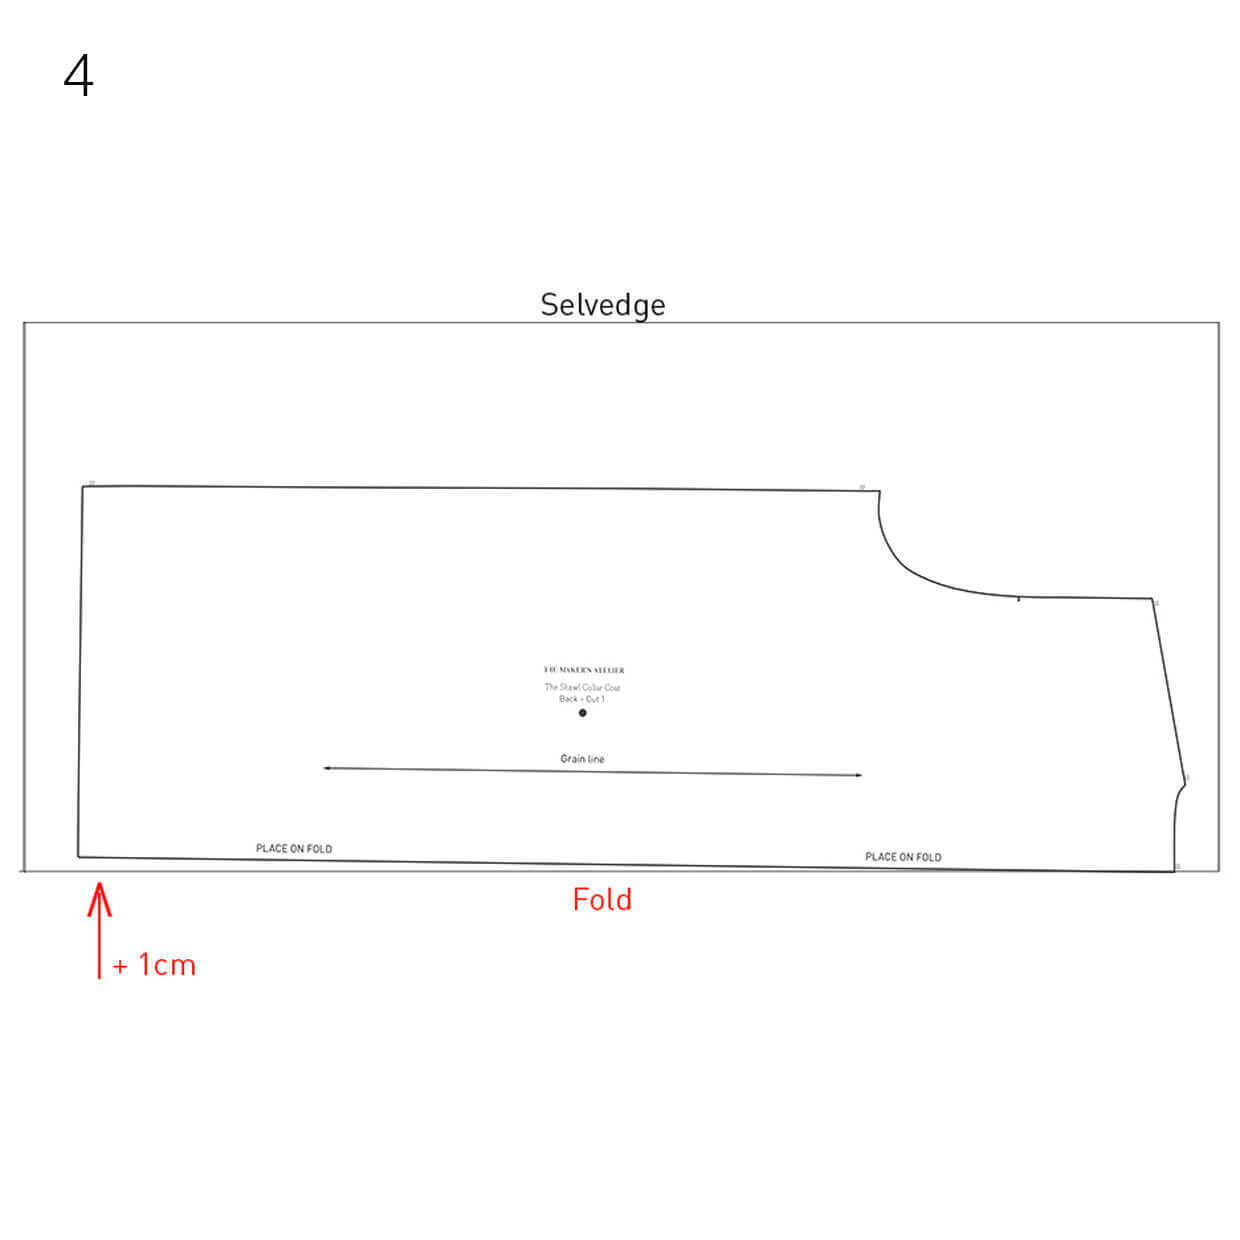
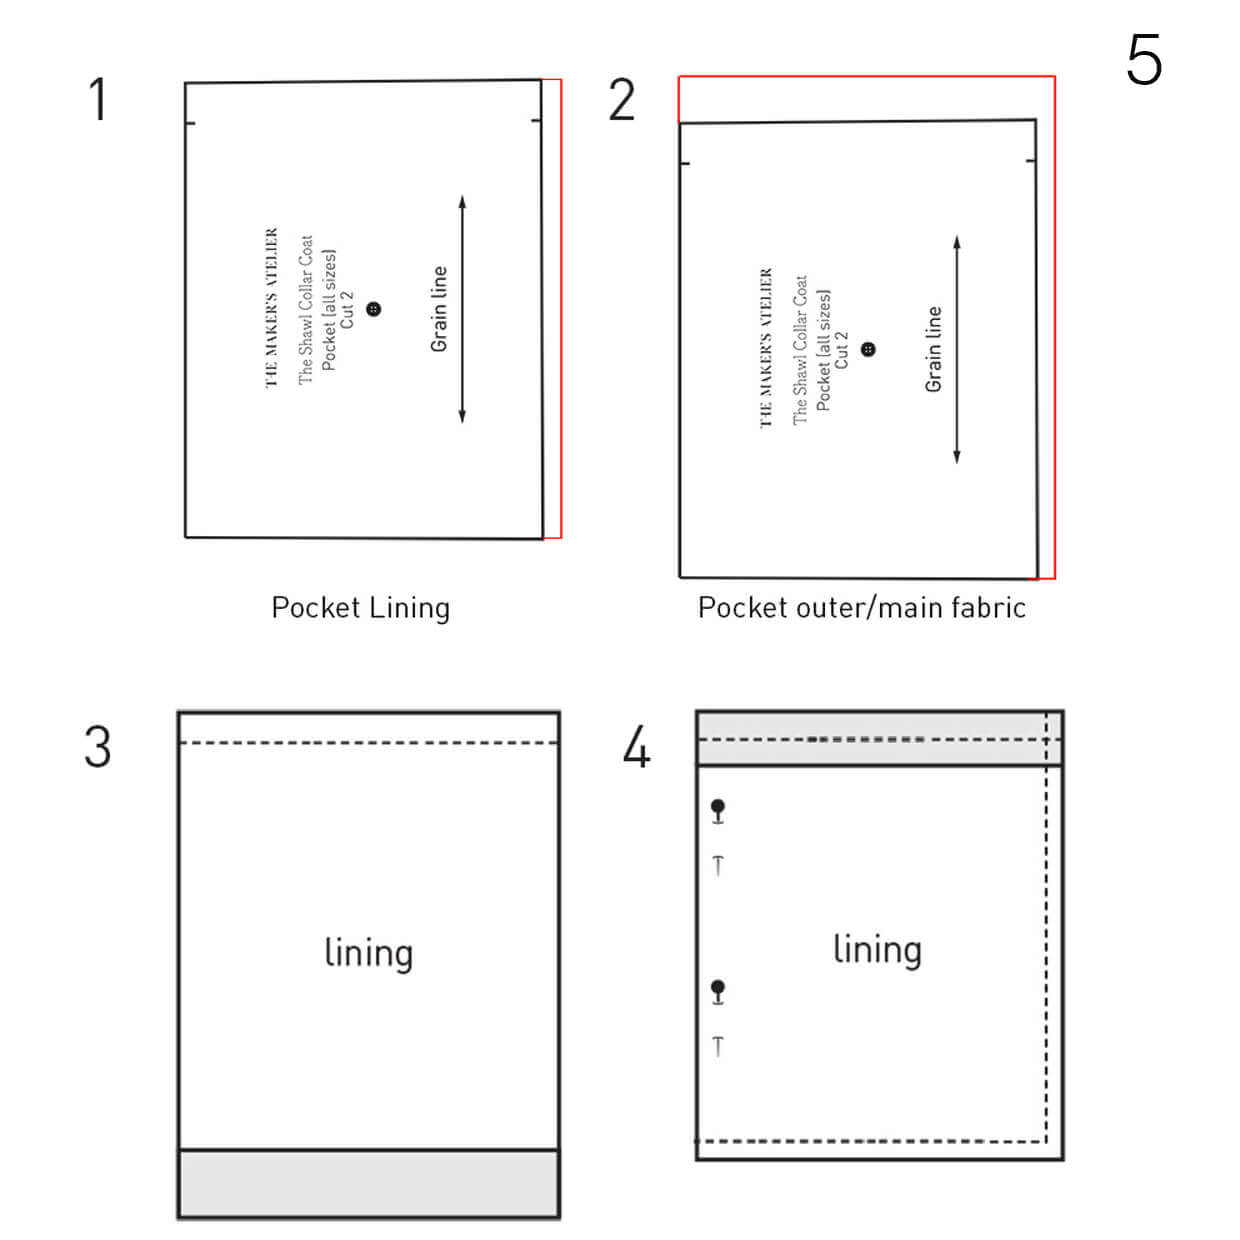
For the sleeves I added 4cm to length of the upper and under sleeve pieces mirroring the outline as shown in red above - illustration 3. For the lining, cut 2 of your new front lining pieces and 2 of the upper and under sleeve pieces in the original length. For the back lining, place the back piece on your fabric at an angle to the fold so that you add in 1cm as shown above - illustration 4. For the pockets using your original pocket pattern piece – place on your lining fabric and using tailor’s chalk add an extra 1cm to the width as shown above and cut two lining pieces (illustration 5). For your outer/main fabric again add 1cm to the width and an additional 2cm to the height, again cut two pocket pieces. With right sides together pin and then stitch along the top edge. Press the seam with the seam allowances down towards the lining. Still with right sides together line up the bottom of the lining with the bottom of the pocket stitch down one long side and the other shorter edge. Keep the open remaining edge pinned to avoid any movement/slipping of your pocket pieces. Remember to stitch the opposite longer edges on the two pockets – the open edge will be inserted into the side seam of your coat. Carefully snip the corners but not the stitching, then turn your pockets through and press.
Make up your coat as shown in the main pattern instructions until you get to Step 4 – do not tack down your collar. Insert sleeves as shown in Step 5, then make up your lining as follows. With right sides together pin then stitch your shoulder seams from shoulder point towards neck – the front is narrower than the back. Pin and stitch the side seams. Make up the sleeves as previously and insert in the same way as the main coat. Press seams open using a pressing cloth and not too hotter iron.
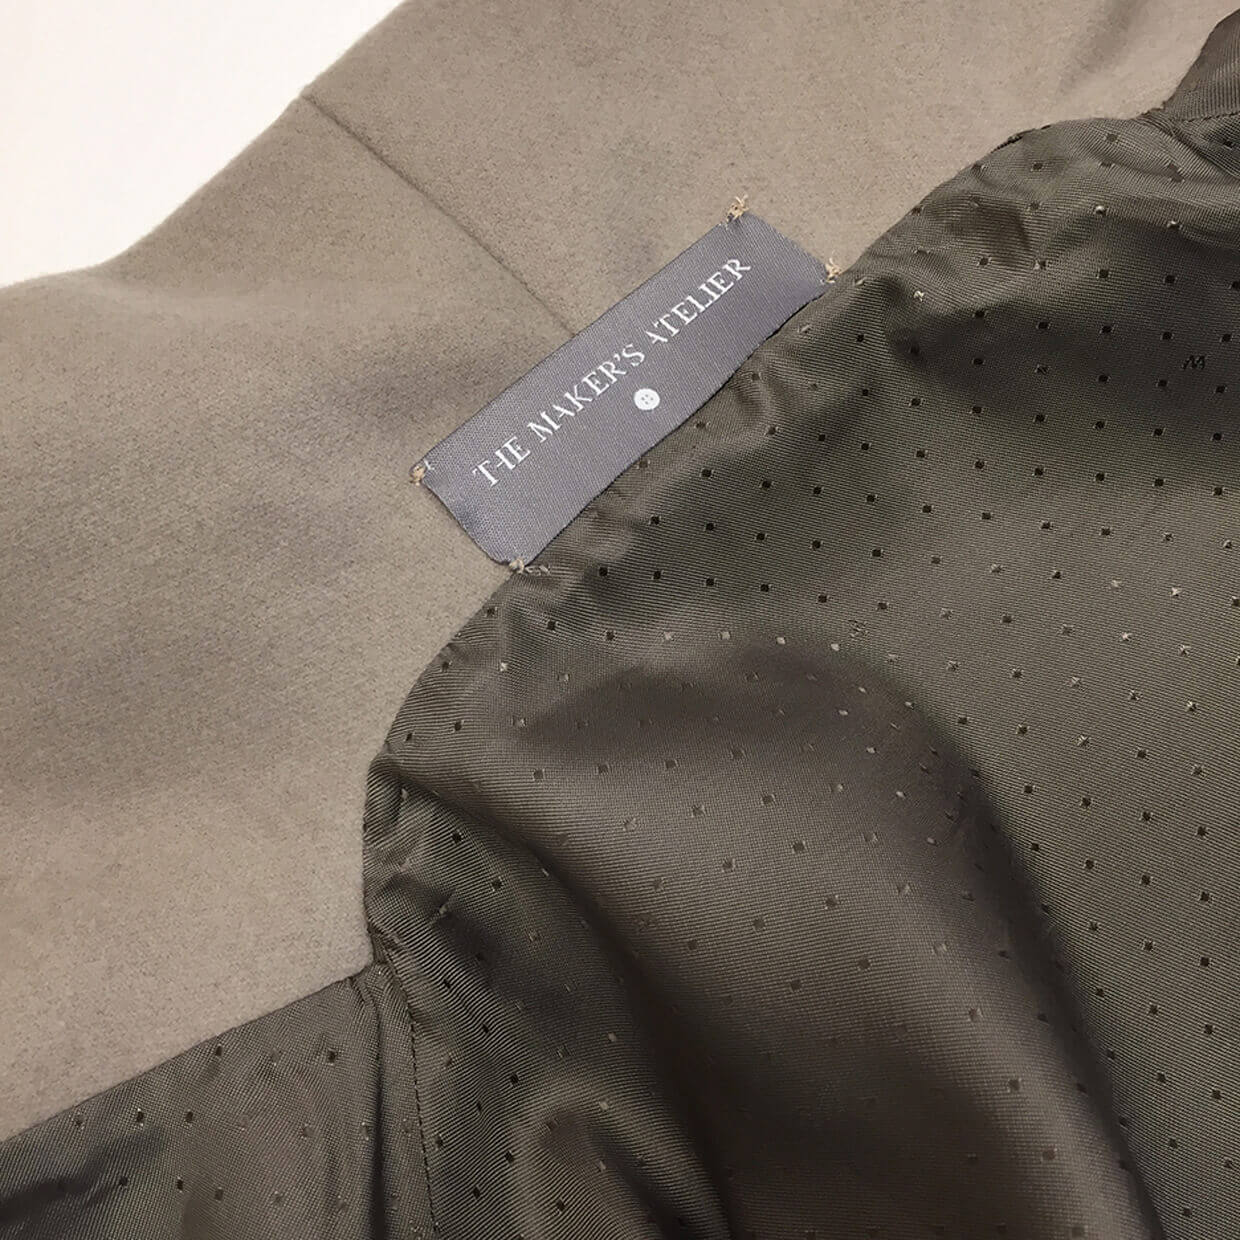
To attach the lining to the coat, place the lining and the main coat with right sides together. Starting at the back neck pin the lining to the upper collar till you get to the shoulder seams. Then pin the lining fronts to the upper collar edge. Stitch in place taking the usual 1cm seam allowance. Using a pressing cloth, press the seam allowance towards the lining, so the thicker, main fabric remains flat. Now turn your coat the right way out and feed the sleeve linings through the sleeves.
Ideally you should let your coat ‘hang’ for a couple of days, so that the lining and outer fabric ‘drop’. Then pin up your outer fabric to the desired length, press using a pressing cloth, then carefully hand stitch your hem in place. Fold back your lining to allow a generous overlap of the hemmed edge, hand stitch your lining to the main coat allowing the excess lining fabric to bag out – this will prevent your coat from lining from pulling your coat when worn.
